malVizio
CLASSIFIED Member

- Total Posts : 2391
- Reward points : 0
- Joined: 2011/09/26 10:24:30
- Location: Affiliate code: A83U9ZY5VO
- Status: offline
- Ribbons : 8


Re:Project: Server and Gaming Case
2012/05/13 19:32:18
(permalink)
Cool idea indeed!i'll follow up this build!
Case:Silverstone FT02 M.B.:EVGA DARK X79/PSU: Corsair HX1000 GPU:EVGA GTX980Ti SC /RAM:32GB DDR3 Corsair CPU:Intel i7 3930K+Noctua NH-D14FANS:3xSilverstone SP200mm SSD/HDD:2xSamsung EVO 850 256/1xPNY 256gb/Seagate 500gb MICE:Razer DA Elite/KB:Collermaster Rapid I/HP:Shure SRH440/Logitech G633 Screen:Dell Ultrasharp 2711U
|
Chrome-M-Dragon
CLASSIFIED ULTRA Member

- Total Posts : 7522
- Reward points : 0
- Joined: 2009/01/17 05:35:05
- Location: Down the rabbit hole...
- Status: offline
- Ribbons : 30


Re:Project: Server and Gaming Case
2012/05/13 20:27:34
(permalink)
Looking good man looking good. Now make me one twice the size :P
People are, well, only Human. We know that. The rule of law is borne out in identifying, condemning, and punishing those who violate the standards on which we all agree. This is exactly what we do in america. -James Inhofe Use any of the codes below for a free hug and a high five! Much love to all you wonderful nerds! Associate: 5L1LJB5JQ94H892 Affiliate Code: QRXQKO8ZJS
|
Spotswood
iCX Member

- Total Posts : 268
- Reward points : 0
- Joined: 2009/08/01 17:19:50
- Location: New Hampshire, USA
- Status: offline
- Ribbons : 7

Re:Project: Server and Gaming Case
2012/07/22 04:06:44
(permalink)
Up next is fabricating a duplicate of the 120mm back fan panel, but for 140mm fans. This time I had Lazerwerx cut me a custom 140mm fan hole router template out of 3/8-inch thick cast acrylic. 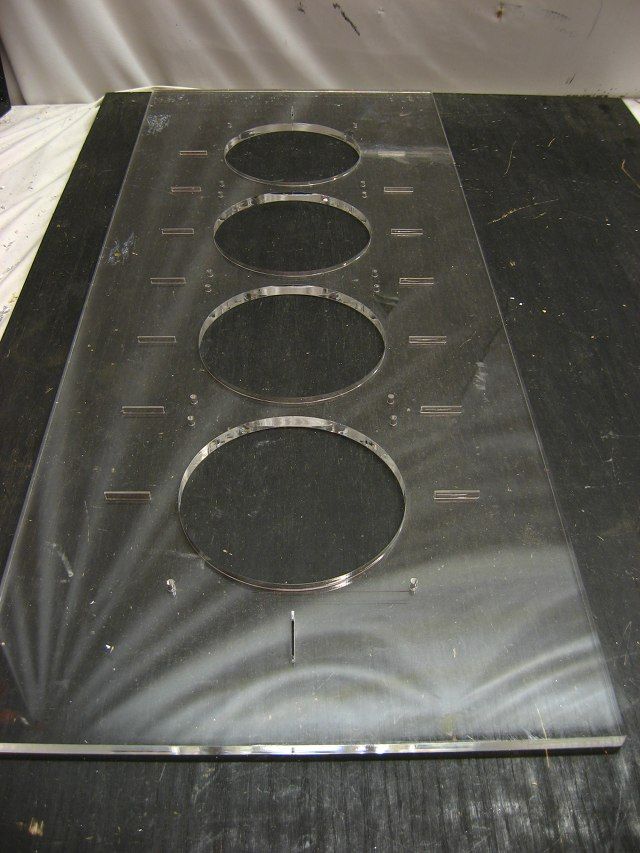 This template is a snap to use: mark center lines and lay the corresponding slits cutout from the template over them. 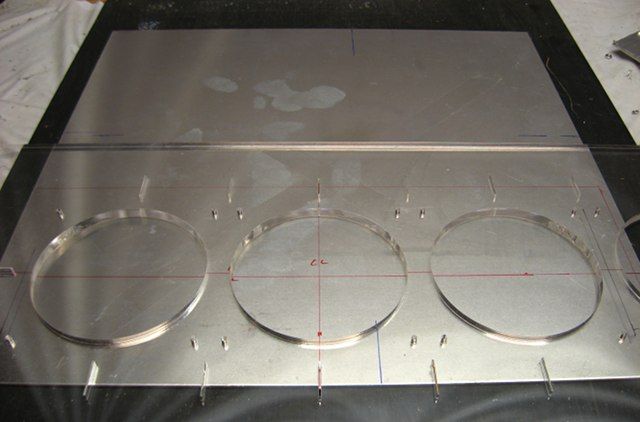 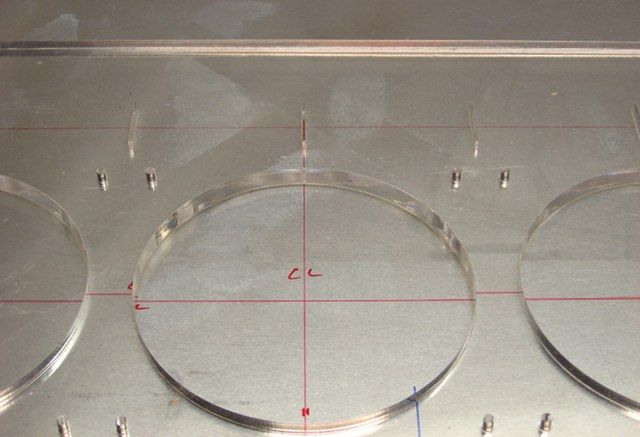 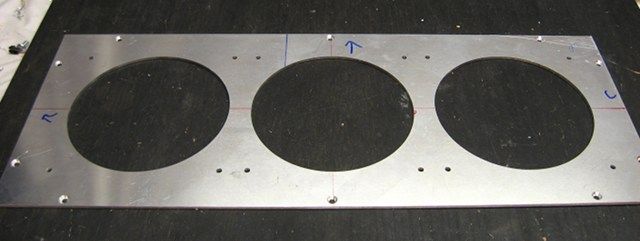
|
Spotswood
iCX Member

- Total Posts : 268
- Reward points : 0
- Joined: 2009/08/01 17:19:50
- Location: New Hampshire, USA
- Status: offline
- Ribbons : 7

Re:Project: Server and Gaming Case
2012/08/07 19:12:25
(permalink)
|
killerjas
FTW Member

- Total Posts : 1274
- Reward points : 0
- Joined: 2011/10/06 20:13:36
- Location: Pierceton, IN
- Status: offline
- Ribbons : 4


Re:Project: Server and Gaming Case
2012/08/08 12:59:50
(permalink)
Nice If i post pics of my aluminum i have out side you yhink you can make me a cad for a server rack and also a place to mount a spare mb to use as like a tech bench
|
Spotswood
iCX Member

- Total Posts : 268
- Reward points : 0
- Joined: 2009/08/01 17:19:50
- Location: New Hampshire, USA
- Status: offline
- Ribbons : 7

Re:Project: Server and Gaming Case
2012/08/18 17:59:44
(permalink)
Drilled two 19mm holes for the vandal resistant switches (power and reset/hard drive activity). Using such a large bit (step drill) is a bit nerve racking for me, but with an extra large work surface and some clamps, I manged to get through it. 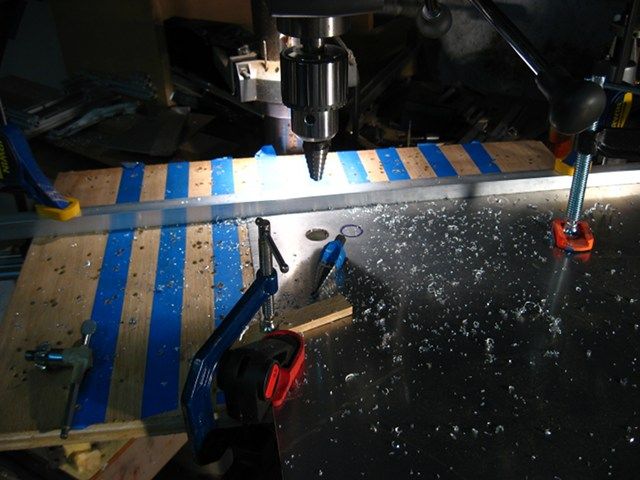 Switches! 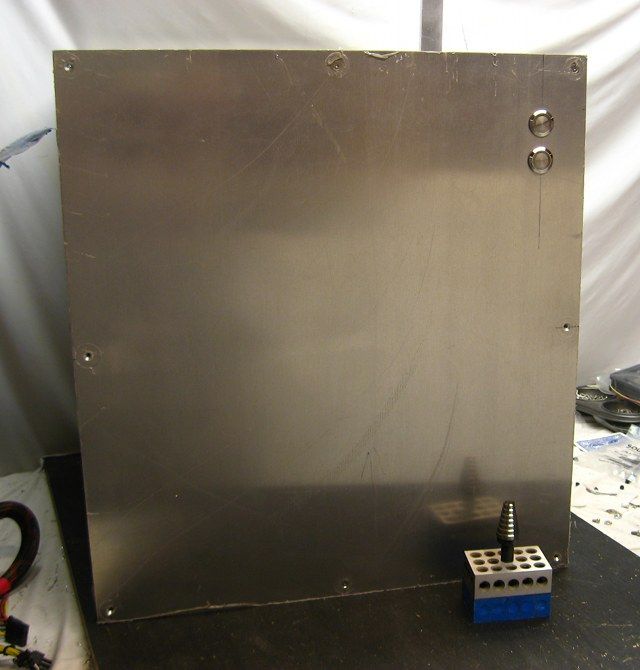
|
Spotswood
iCX Member

- Total Posts : 268
- Reward points : 0
- Joined: 2009/08/01 17:19:50
- Location: New Hampshire, USA
- Status: offline
- Ribbons : 7

Re:Project: Server and Gaming Case
2012/09/03 19:32:54
(permalink)
During final assembly (before paint) some rework is inevitable. With this case, early on in the build, it was widened to accommodate the front radiators. But I never went back to see if the PSU mounting bracket worked/looked okay. Plus, I never tested the PSU cutout from the back sheet with the the actual PSUs used for the build. Well, the cutout in the backsheet for the PSUs had to be widened by 3mm in order to clear the fan grill on the PSU cooling fan. And the PSU mounting plate looked to dainty and needed to be widened. 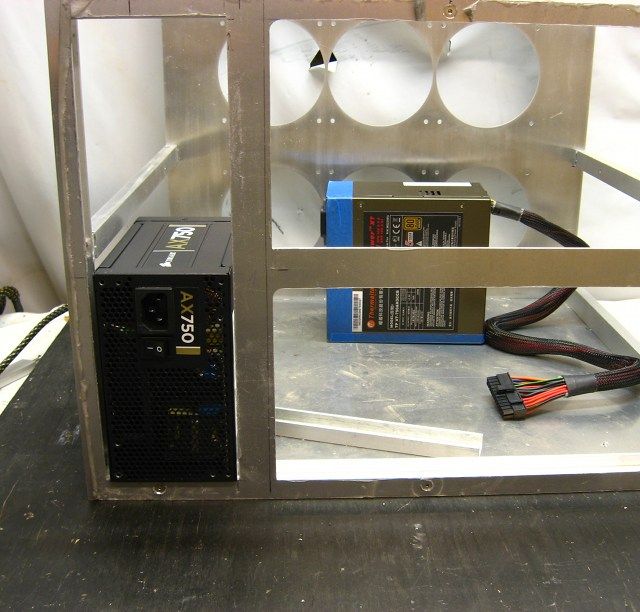 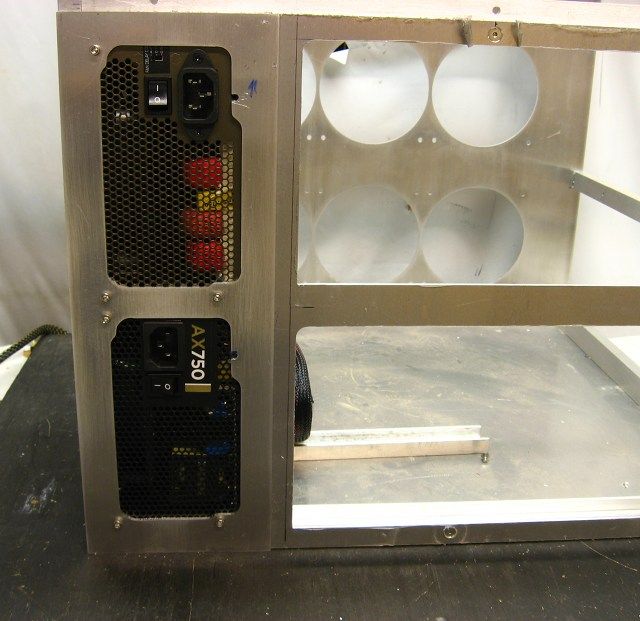 And with the old PSU mounting bracket placed in front of the new one: 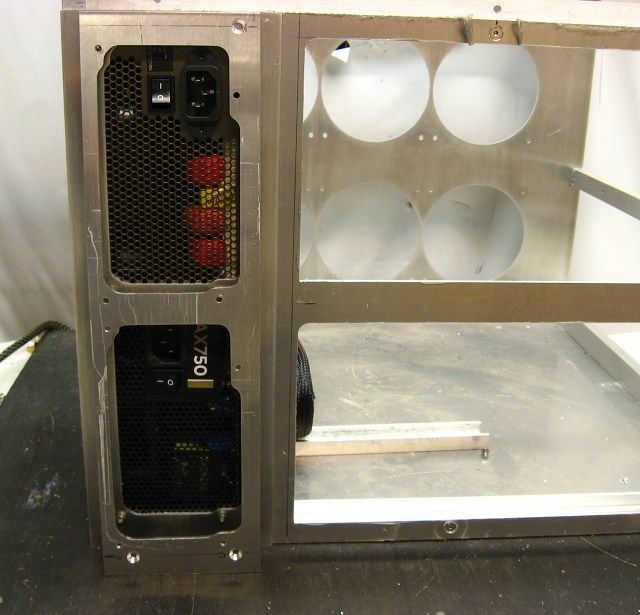
|
XrayMan
Insert Custom Title Here

- Total Posts : 63846
- Reward points : 0
- Joined: 2006/12/14 22:10:06
- Location: Santa Clarita, Ca.
- Status: offline
- Ribbons : 115


Re:Project: Server and Gaming Case
2012/09/03 20:20:23
(permalink)
My Affiliate Code: 8WEQVXMCJL Associate Code: VHKH33QN4W77V6A   
|
Charger4lif
iCX Member

- Total Posts : 397
- Reward points : 0
- Joined: 2012/04/01 15:05:40
- Status: offline
- Ribbons : 1


Re:Project: Server and Gaming Case
2012/09/05 15:12:06
(permalink)
|
BillyBoB4869
New Member

- Total Posts : 66
- Reward points : 0
- Joined: 2008/09/21 19:13:33
- Status: offline
- Ribbons : 1


Re:Project: Server and Gaming Case
2012/09/07 00:23:47
(permalink)
|
Spotswood
iCX Member

- Total Posts : 268
- Reward points : 0
- Joined: 2009/08/01 17:19:50
- Location: New Hampshire, USA
- Status: offline
- Ribbons : 7

Re:Project: Server and Gaming Case
2012/09/29 17:46:58
(permalink)
|
nikkocortez
CLASSIFIED Member

- Total Posts : 2625
- Reward points : 0
- Joined: 2010/02/01 10:04:03
- Status: offline
- Ribbons : 14


Re:Project: Server and Gaming Case
2012/09/29 18:31:23
(permalink)
Truly some serious craftsmanship here!  I'll admit I'm a bit jelly cuz I don't quite have all the tools around to do much of this as nicely as you have. Still, exceptional work so far!
|
Spotswood
iCX Member

- Total Posts : 268
- Reward points : 0
- Joined: 2009/08/01 17:19:50
- Location: New Hampshire, USA
- Status: offline
- Ribbons : 7

Re:Project: Server and Gaming Case
2012/11/05 19:34:41
(permalink)
|
willem445
CLASSIFIED Member

- Total Posts : 4184
- Reward points : 0
- Joined: 2010/05/25 17:30:49
- Status: offline
- Ribbons : 13


Re:Project: Server and Gaming Case
2012/11/06 13:50:52
(permalink)
|
loginname01
New Member

- Total Posts : 16
- Reward points : 0
- Joined: 2012/10/30 22:08:38
- Location: Zhangjiagang
- Status: offline
- Ribbons : 0

Re:Project: Server and Gaming Case
2012/11/08 22:23:30
(permalink)
Youve been working on this for more than a year? The build is amazing, but wouldnt the customer have selected different parts by now? I would love something like this to be honest. I hate how much room my server takes up... other side, own desk, monitor, keyboard, etc
 www.xtmmo.com www.xtmmo.com
|
Spotswood
iCX Member

- Total Posts : 268
- Reward points : 0
- Joined: 2009/08/01 17:19:50
- Location: New Hampshire, USA
- Status: offline
- Ribbons : 7

Re:Project: Server and Gaming Case
2012/11/12 14:20:01
(permalink)
|