2021/03/12 13:20:17
staypuft
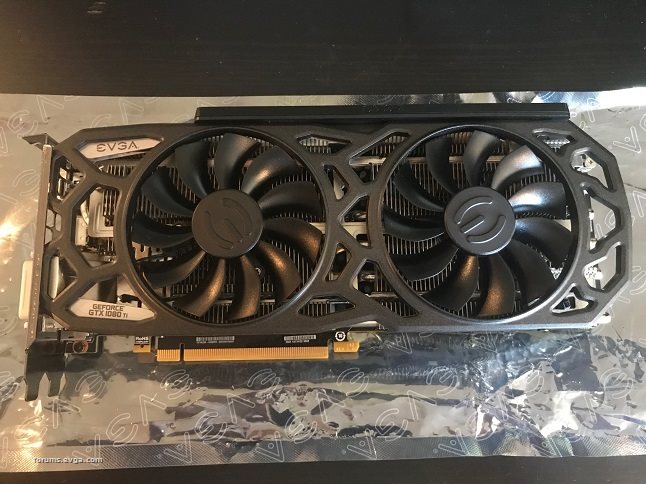
OK, so after searching around I have not found a single thread on this topic that gives photos and detail about fan maintenance on these cards.  This method does not require any re-application of TIM or replacement of thermal pads.  This is the least intrusive method to either change out your fans or open them up for some preventative oiling.  Here goes, broken into multiple posts:


Tools used:
 
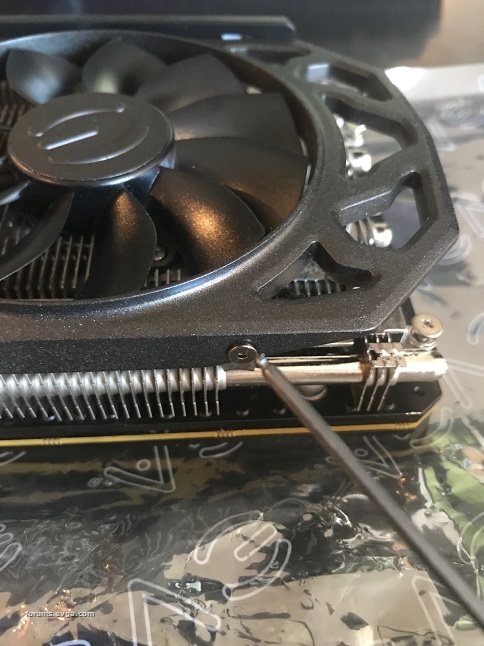
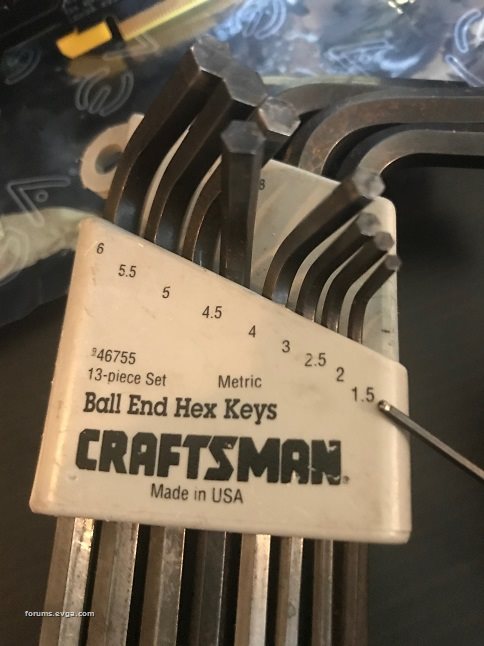
Ball-end Hex key, 1.5mm

 
Phillips #0 screwdriver (#1 works as well, depending upon the driver)

 
STEP 1
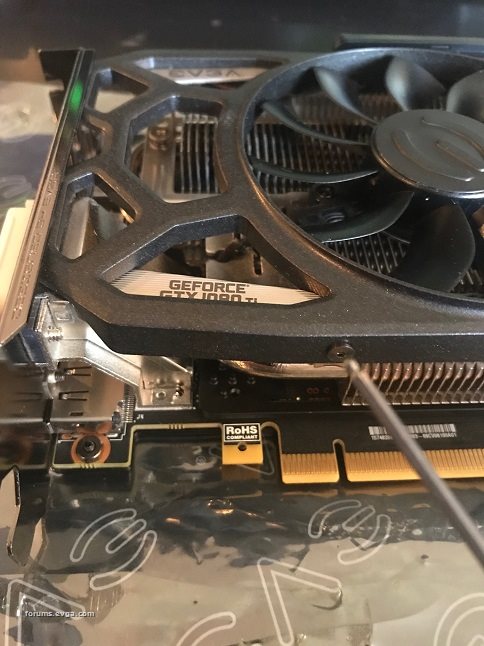
:  Identifying the screws that you need to remove.  Total of 4.  3 are identical and are removed out the side, 1 is shorter and is removed from underneath.  This last one requires the ball end to reach inside the pocket at an angle.


Attached Image(s)

2021/03/12 13:21:08
staypuft
STEP 2:  Identify any connectors that you must disconnect.  This may vary based upon the card (my sample has one connection for the LED, 011G-P5-6393-KR).  Generally the same principle for all designs, be careful and don't use sharp tools.


Step 3: Disconnect using rounded needle-nosed pliers, or leverage it out (like I did) using the ball-end hex key shaft.  It takes time and patience to work it out.


Step 4:  Lift and remove the shroud.  Be careful to hold the wires aside so that they do not get snagged and cut on the heatsink fins.


Attached Image(s)

2021/03/12 13:21:15
staypuft
Step 5:  Identify the screws that you need to remove in order to remove the fans - total of 6, 3 per fan.  Once the screws are out, you can flip the fans over for oiling (skip to Step 8) or continue teardown for replacement (Step 6).


Step 6:  Unhook the fan wires from the heatsink.


Step 7:  Snip the zip tie and disconnect the fan header.  Be careful not to cut the wires.  Don't pull on the wires directly.  Remove the fan assembly.


Attached Image(s)

2021/03/12 13:21:21
staypuft
Step 8:  Flip fans over for oiling.  Cut a hole in the middle with a very sharp x-acto knife.  Place a couple drops of oil in the hole.  Tape it back up.  Clear 3M packing tape works great, won't yellow, will last years.


I used something equivalent to this oil.
 

Attached Image(s)

2021/03/13 03:46:27
kougar
Interesting idea for where to place the oil. I just flip the fans over and place a couple drops between the inner/outer frame layers, then spin in both directions a few times to spread it around until I can feel the bearing lubricate. Probably overkill but it still lasts longer than the original config from the factory did. One of those very cheap plastic pipette's is flexible enough to just get between the housing and frame without having to take everything apart. 
 
Might try your trick next time I need to oil one though.
2021/03/13 08:48:37
ty_ger07
kougar
I just flip the fans over and place a couple drops between the inner/outer frame layers, then spin in both directions a few times to spread it around until I can feel the bearing lubricate.

Oof.  Don't you have issues with dust sticking and building up on the magnets and windings?  Placing the oil directly on the bearing and sealing it back up is a much better method, in my opinion.  It's the method I use.
2021/03/13 13:45:32
atfrico
Dude!!  This is a great home mod. Thank you for sharing and well deserved BR
2021/03/14 12:26:48
coolmistry
That good explain and photos 
2021/03/15 10:25:32
kougar
ty_ger07
Oof.  Don't you have issues with dust sticking and building up on the magnets and windings?  Placing the oil directly on the bearing and sealing it back up is a much better method, in my opinion.  It's the method I use.


Not that I've noticed, but with my method I've only ever had to oil fans once. Staypuft's method is probably best though, yeah. 
2021/03/24 16:49:01
staypuft
Update:  Replaced the fans.  Trick to keeping the long cable from obstructing the fan blades is to take up slack.  Pull cable beneath the two slots on left side of heatsink (third photo) to adjust the slack after everything is in place and the connector is inserted.  Any slack on the shorter fan cable can be tucked into the pocket (fourth picture).


 Replacement kit found on fleabay... part number PLA09215B12H (should look like the below picture, wiring is specific)


Attached Image(s)

12

Use My Existing Forum Account

Use My Social Media Account