In another thread we were talking about possible application methods of TIM when you have lapped your CPU and Block to a mirror shine so I put some of the most common ideas to the test with two plates of glass.
Glass: 4" square for size reference
TIM: An ungodly combination of Dynex Ceramic and Tuniq MX-4 (that ended up getting shipped ot me too hard to use)
After each application the glass was cleaned with cotton and Iso, and dusted with a coffee filter.
Now to the Fun stuff
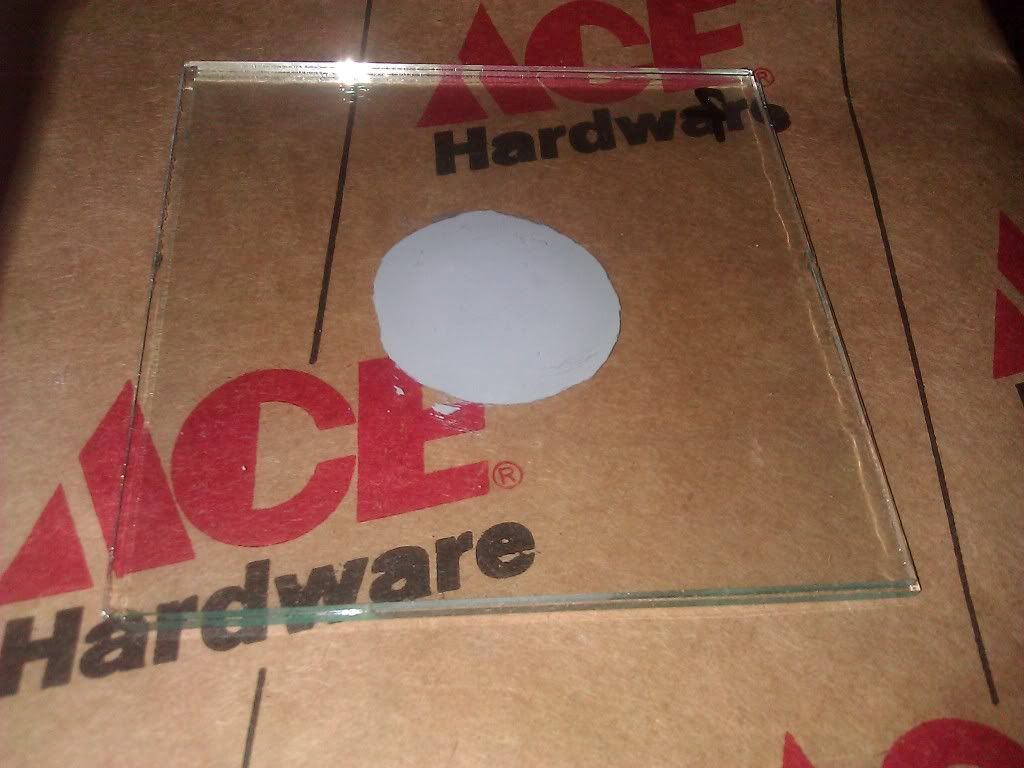
Rice Grain Application Quantity Reference 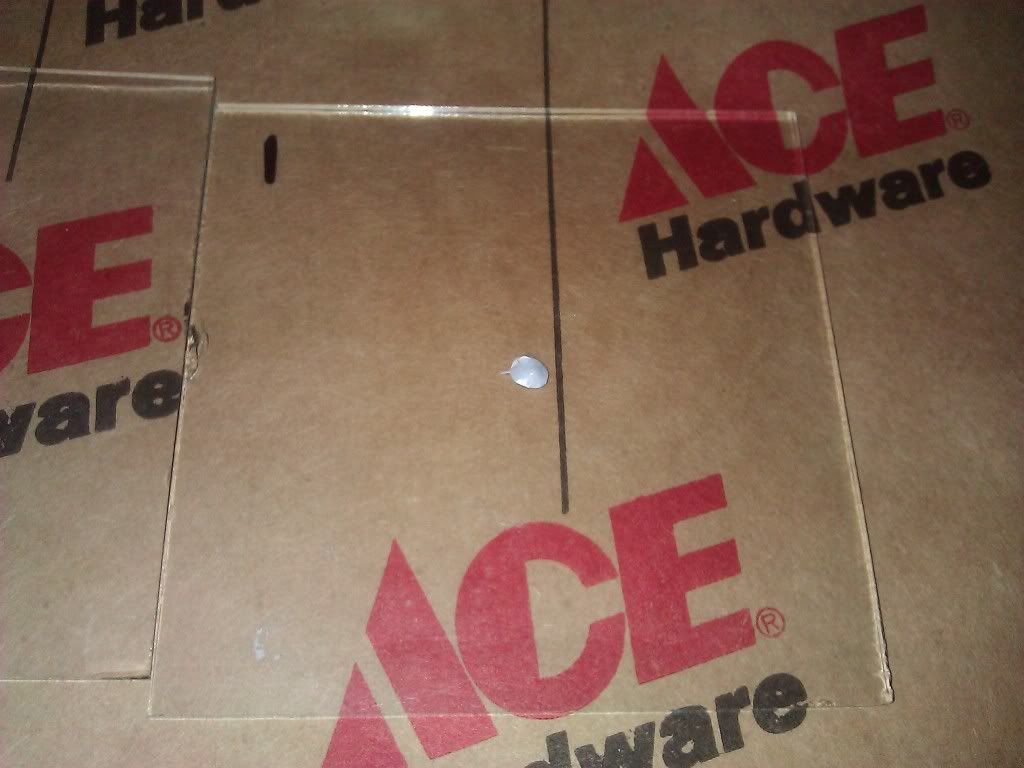 Video of joining the two pieces Spread-Out Both Sides
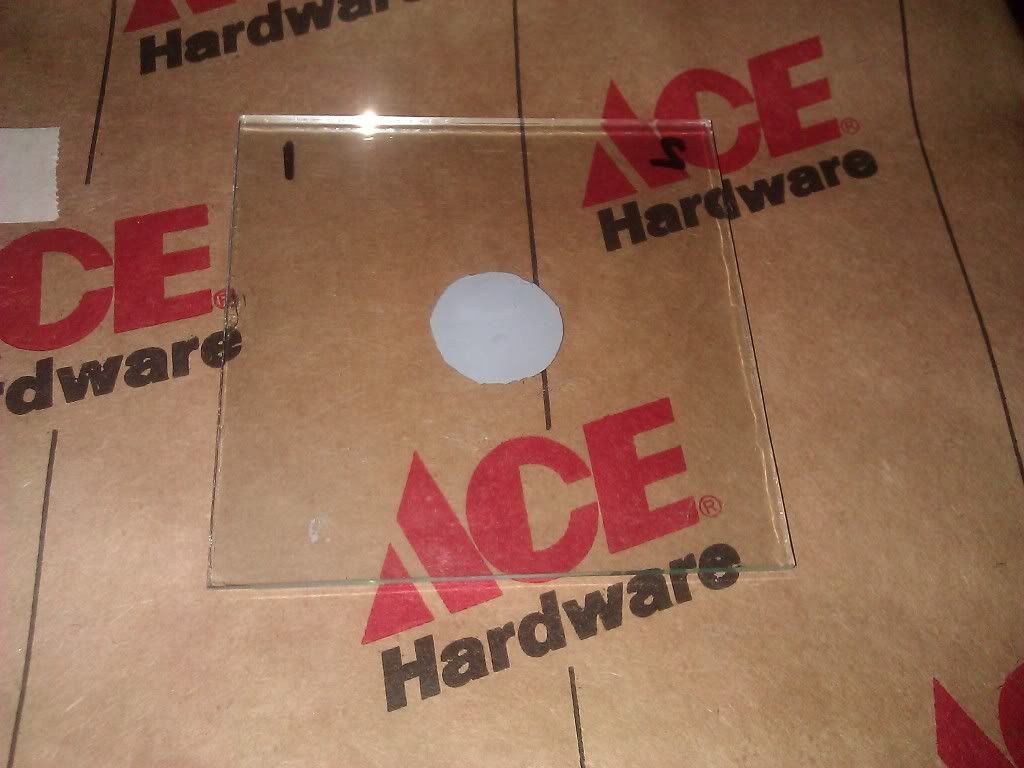
While the rice grain method is one of the highest praised methods I did find one flaw with it. On the good side the rice grain method provides you with the thinnest layer of TIM but it will leave alot of uncovered real estate. I will have to admit though, in my opinion this definately worked the best for the simulated lapped CPU and HSB. Regardless though, this would be enough to fully cover the die on any CPU. Only if there was a way to really get a volume needed for maximum coverage vs layer thickness. Also, through heat and over time I would imagine this would spread out a little more (dependent on TIM). I tell how thin the layer of TIM was because as I twisted the glass I could feel the glass begin to tighten up and create a vaccuum (like if you put a single drop of water between two pieces of glass they are hard to seperate)
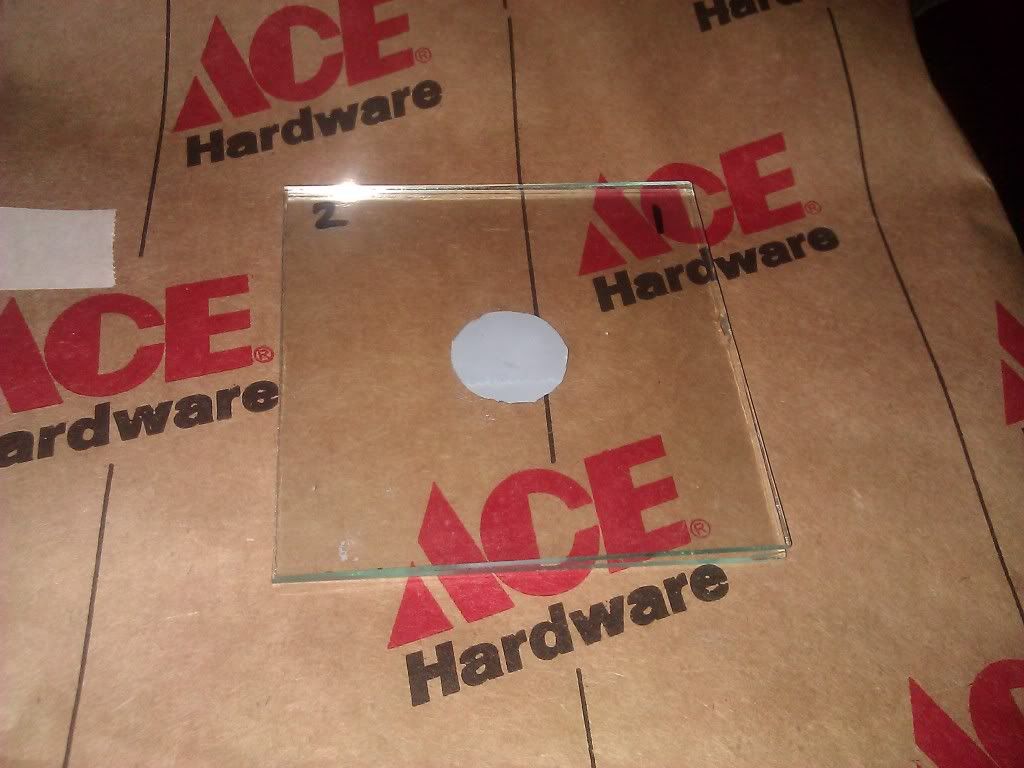
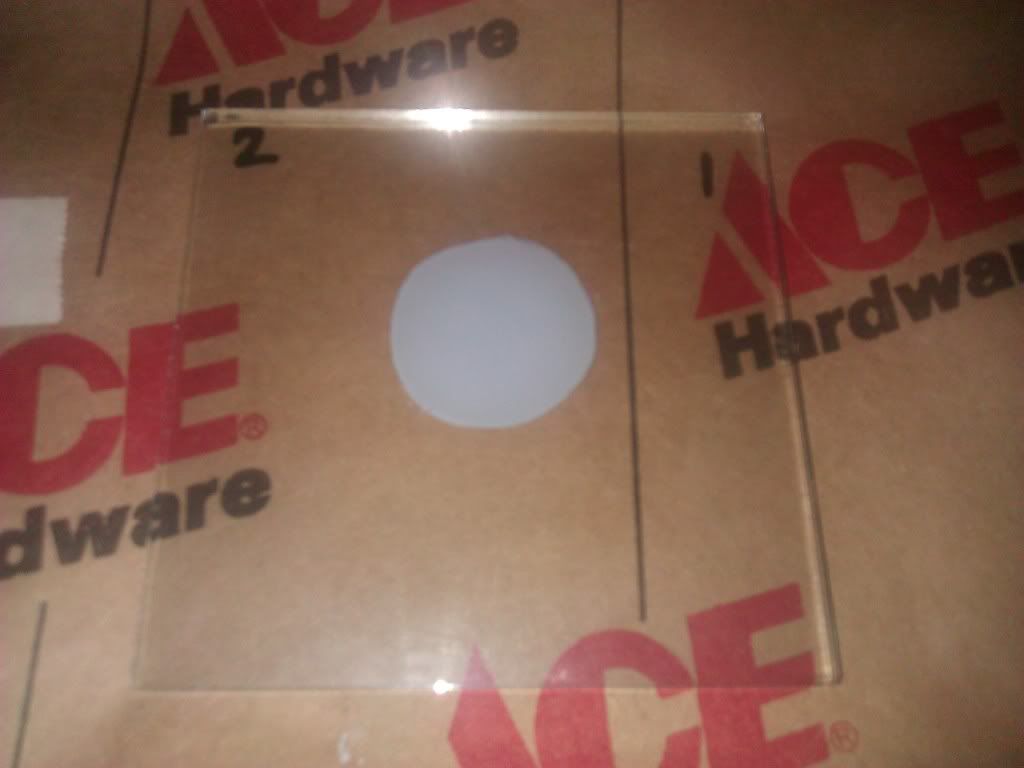
Pea Size Method Quantity reference 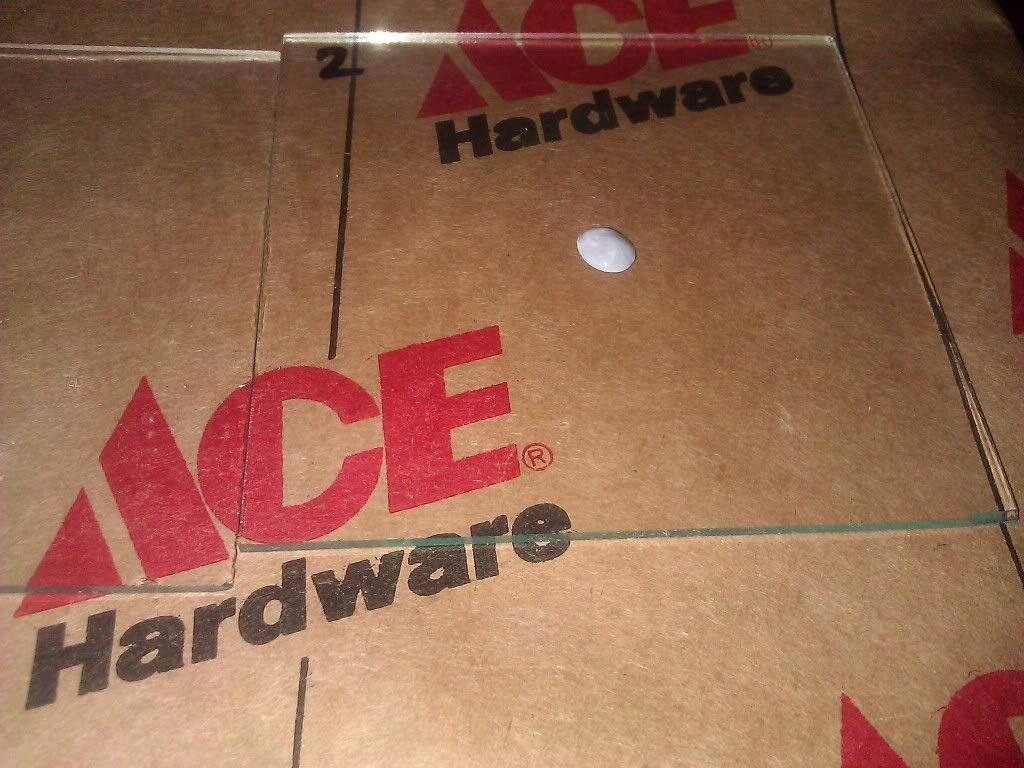 Video of Joining the Two Pieces Spread-Out Both Sides
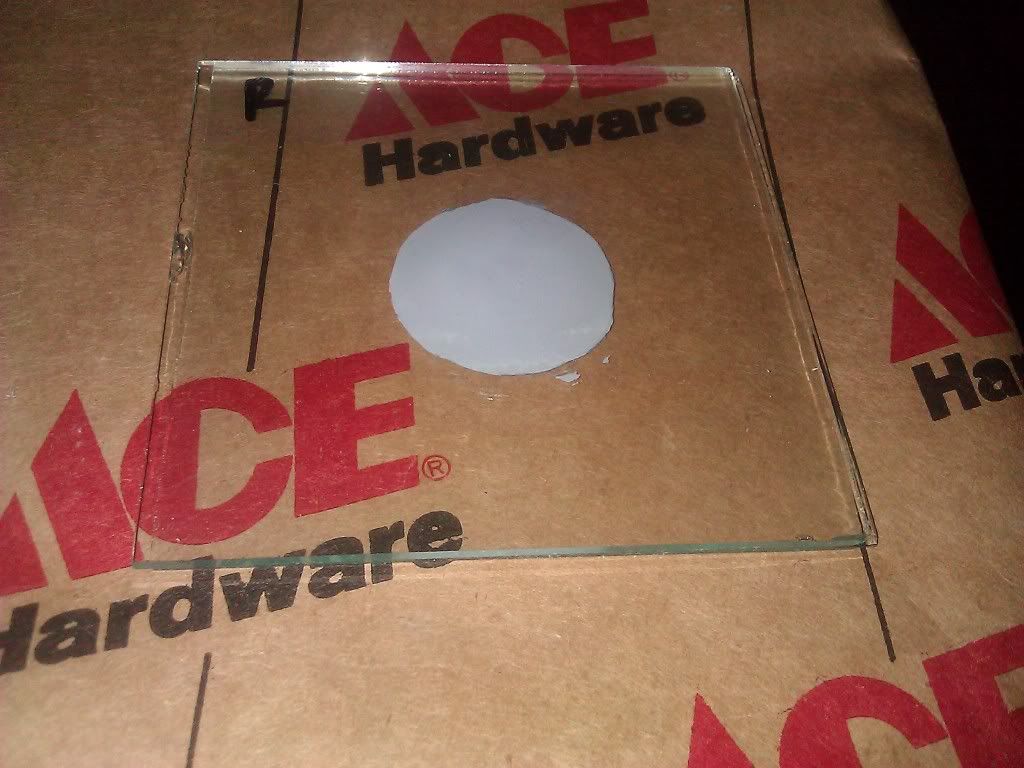
While i really liked this method, I used just a bit too much. Great coverage; if this was on any LGA Intel chip it would nearly cover the entire IHS. This method would probably be the better if not best choice for AMD Chips. Reasoning behind that is that like I said, I think I used just a little too much TIM as I could feel the glass begin to tighten up but I could still tell a significant difference in the feel and thickness of the layer of TIM. This could/would spread out over time though.
Single Line Application Quantity reference 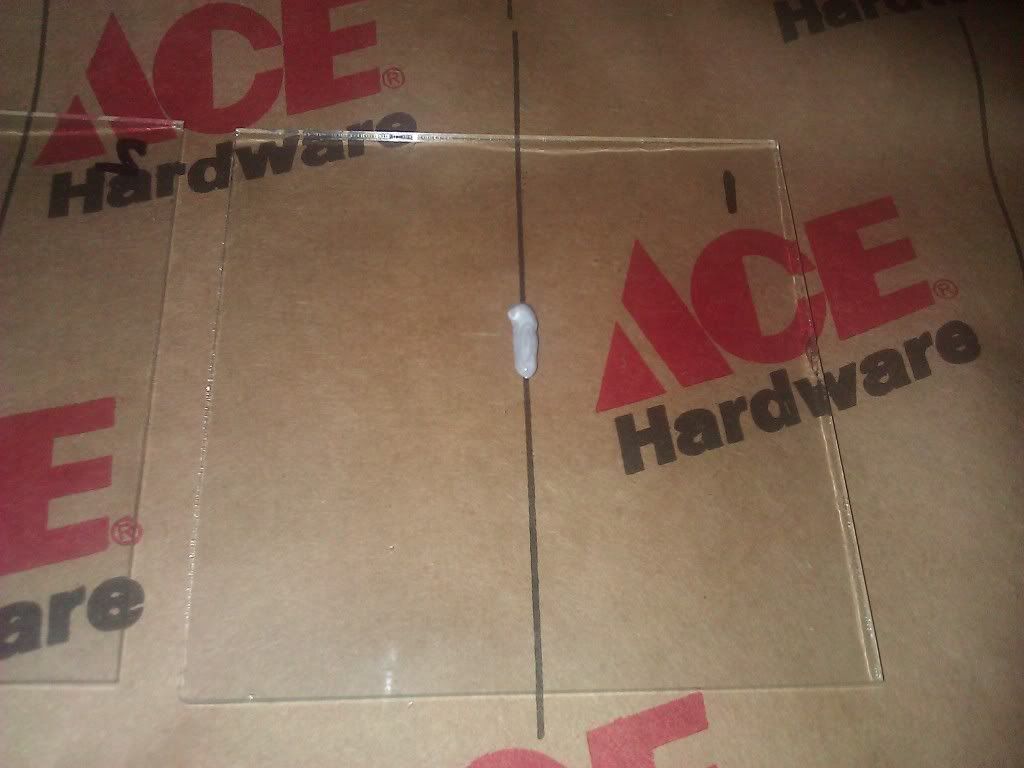 Video of Joining the two pieces Spread-Out both sides
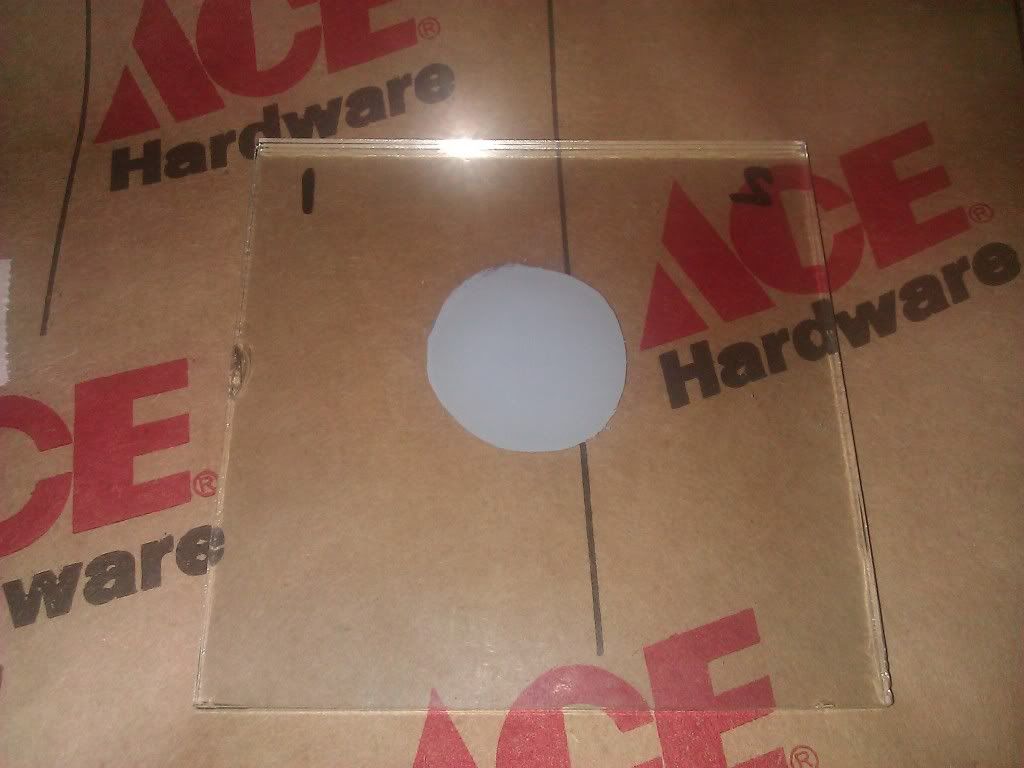
This method is reccomended by Intel at the least, and while I did have some decent success with this method I would not reccomend this method for someone who has lapped their equipment to a mirror shine. If you have just lapped your equipment flat this could work very well as there would be enough TIM to fill in all of the gaps left in the metal by rougher sandpapers. Again in this case there is just too much TIM, very slick, almost no tightening and definately not thin enough layer for mirrored equipment. At this level I can visibly see a seperation in the glass at the edges.
Double Line Method Quantity Reference 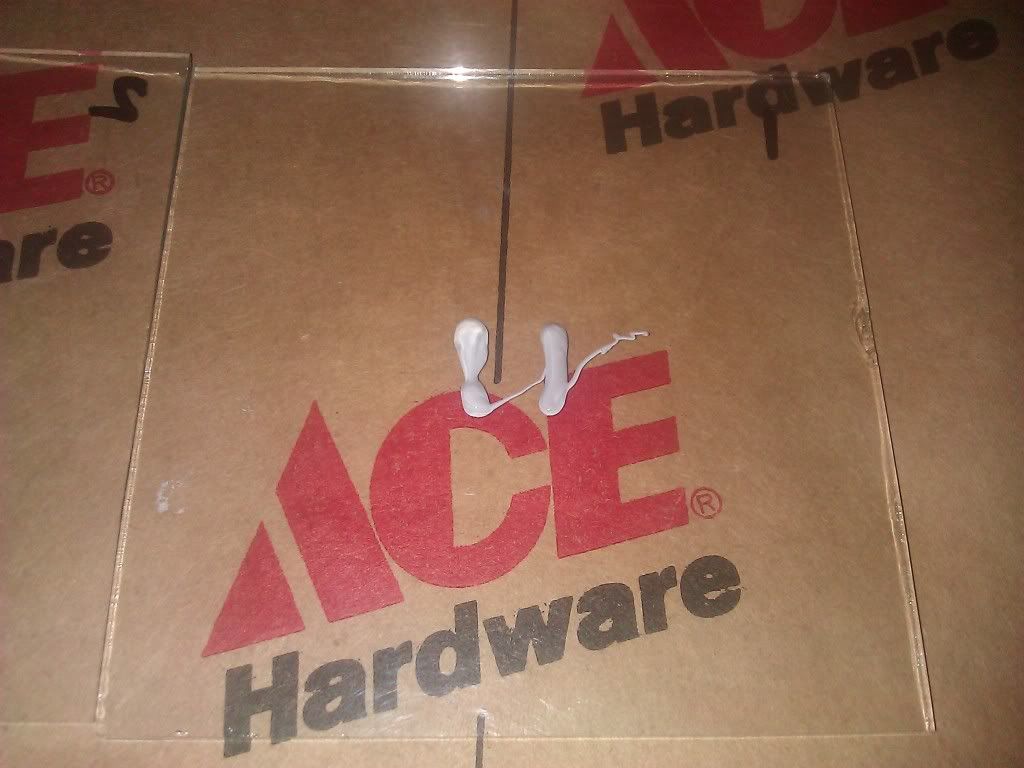 Video of joining the two pieces
Spread out both sides 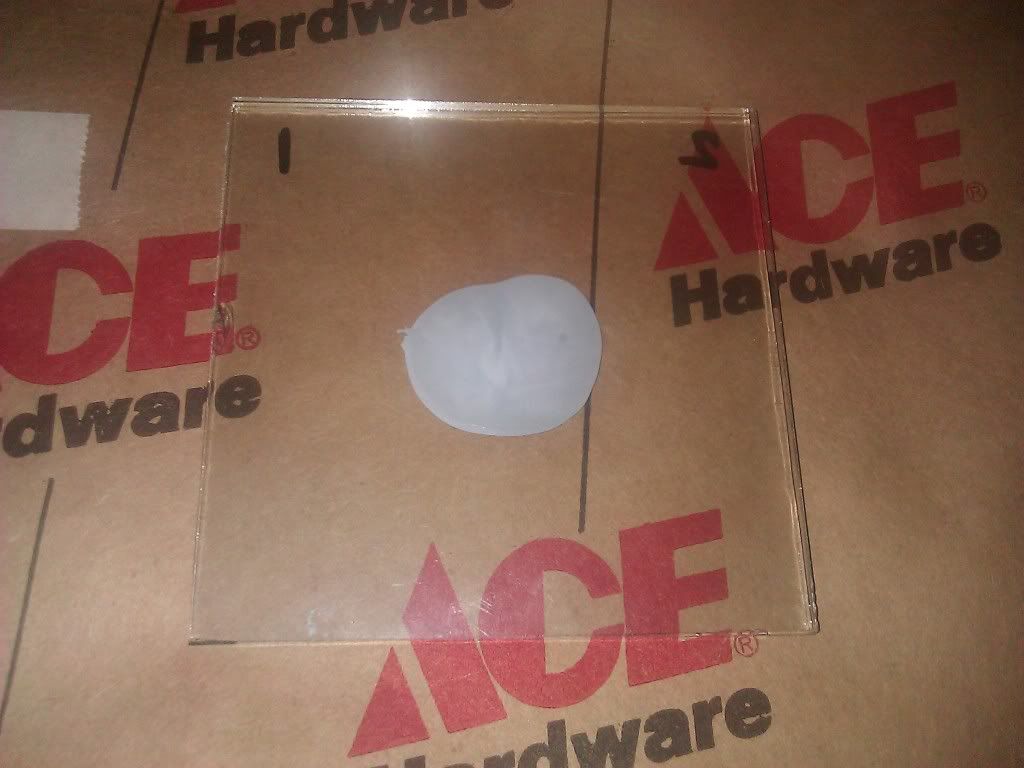

I cannot remember where or when I was reccomended the double line method, but I would not reccomend this to ANYONE. The coverage was not much better than the single line method but there was a MUCH thicker layer of TIM in between the two surfaces. That thick layer is going to cause more thermal resistance than any other method tested. And if you look at the spread-out side 2, the TIM in the middle that is still very light never mixes like the methods did. Which tells me that there was so much TIM in the center of the spread that even twisting the glass with pressure was not thinning it out.
Manually Spreading out the TIM Quantity reference 1 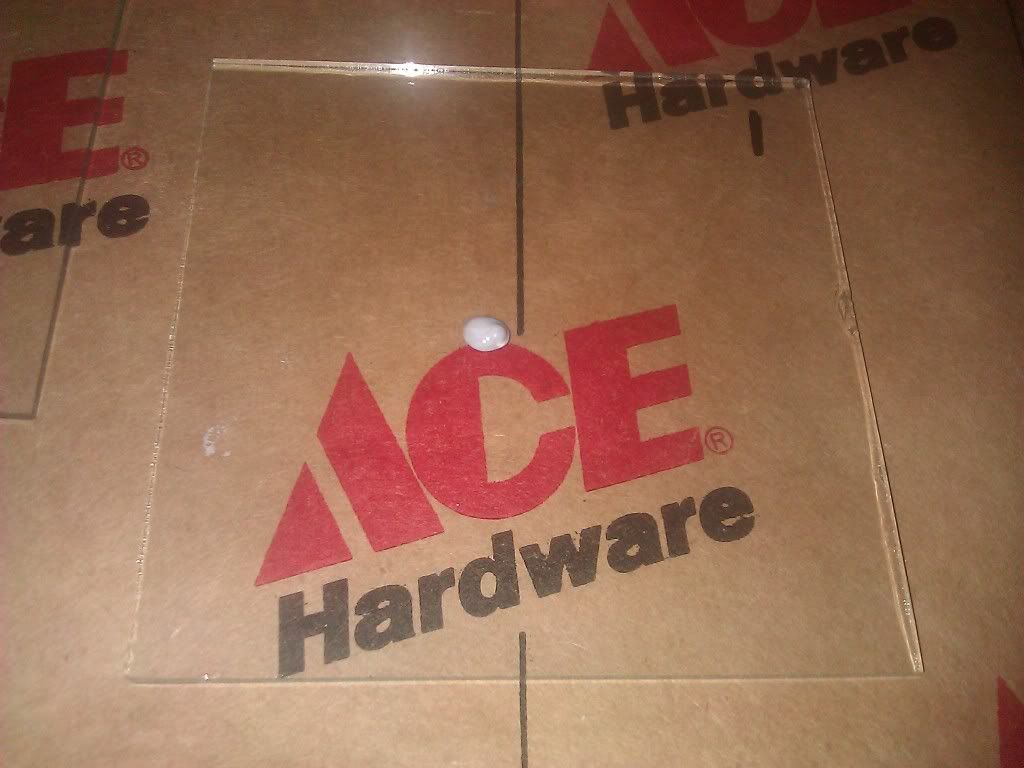 Video of Spreading 1 Quantity reference 2
 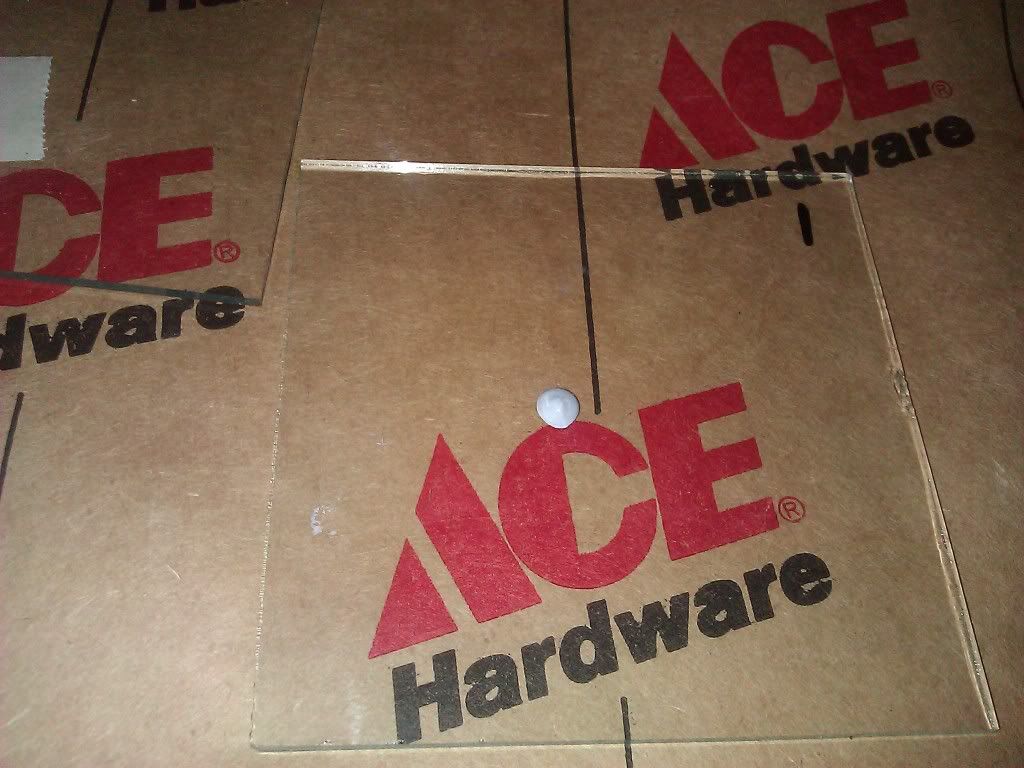 Video of Spreading 2 Video of Joining the Two Pieces Spread-Out Both Sides (Spread 2)
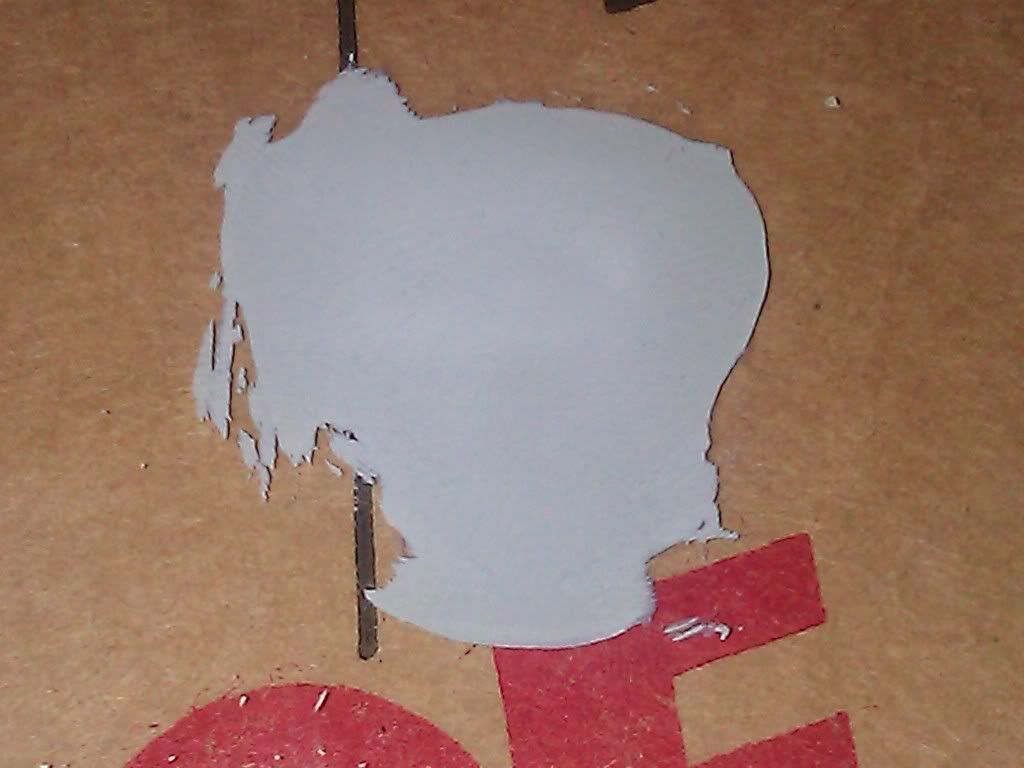
While the manual spread method doesnt look as clean as the pressure spread it felt about as good as the Pea-Sized Method as for material thickness. The only thing that worries me about this method is that I dont know if there is any air trapped beneath, and I dont know how well it will even out and spread. If you notice, no matter how much pressure I put on the moving glass, the TIM nearly refuses to spread out to fill gaps. While i was able to get the TIM to cover the entire Die area, I personally will not use this method again.
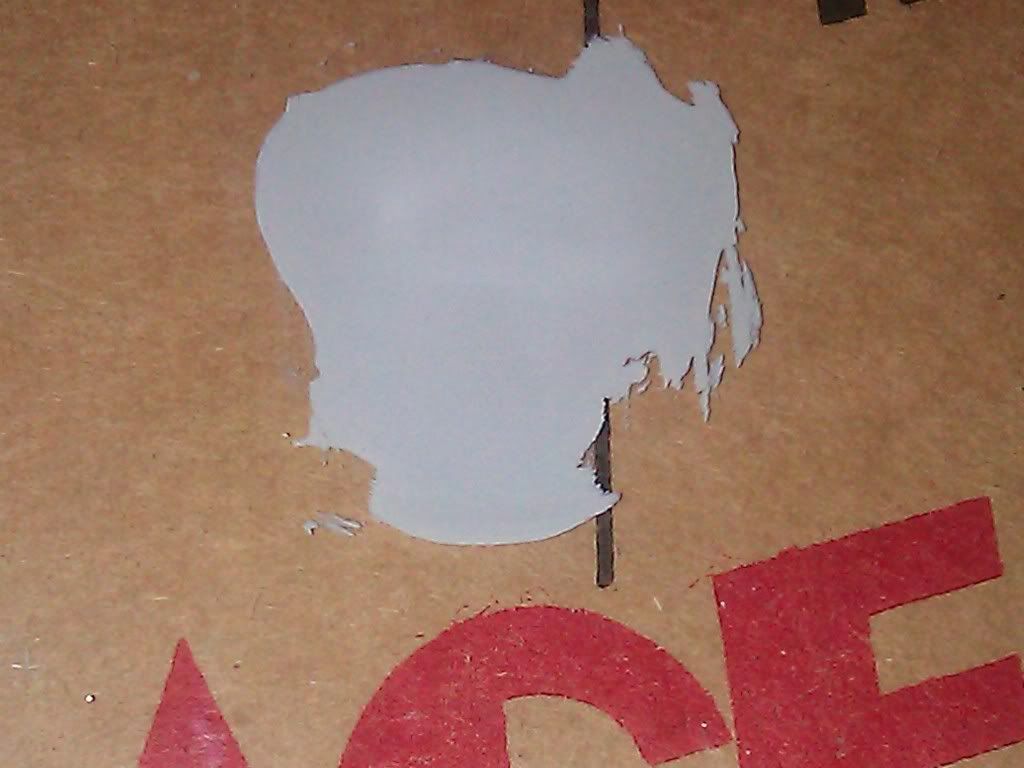
Thinning with Alcohol Quantity Reference 1 Video of Mixing the first Video of Joining the two Pieces This was such a bad idea I had to do it twice just to make sure the results were justified Quantity reference video Video of Joining the Two Pieces Before the plates were seperated 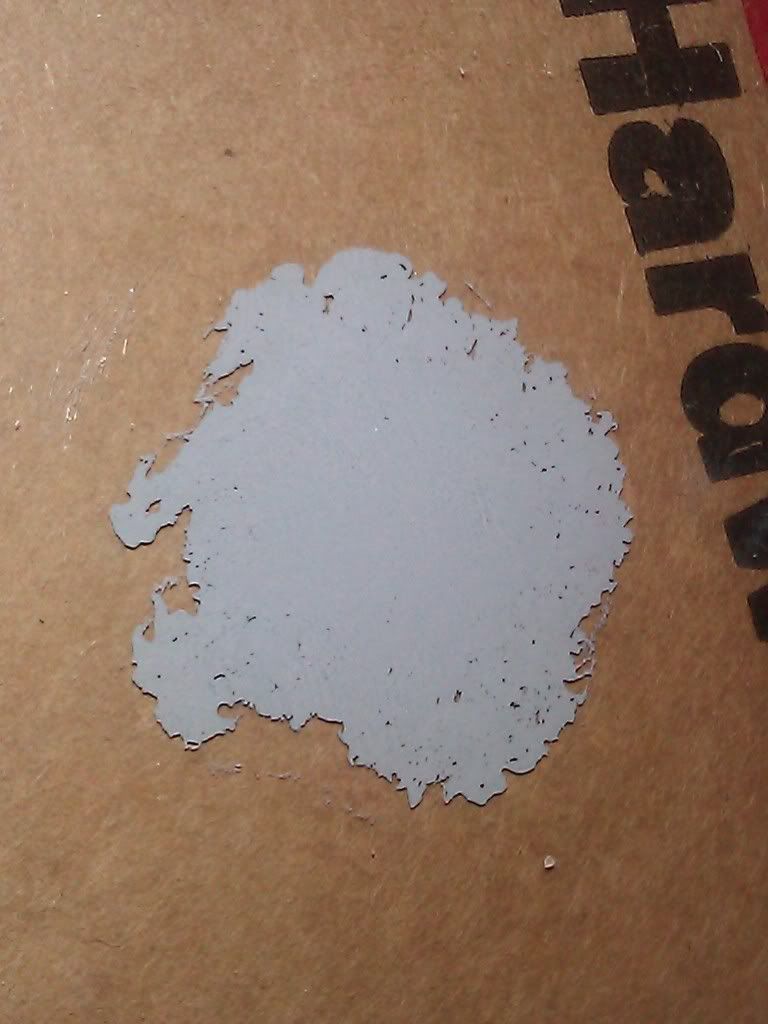
 After the plates were seperated
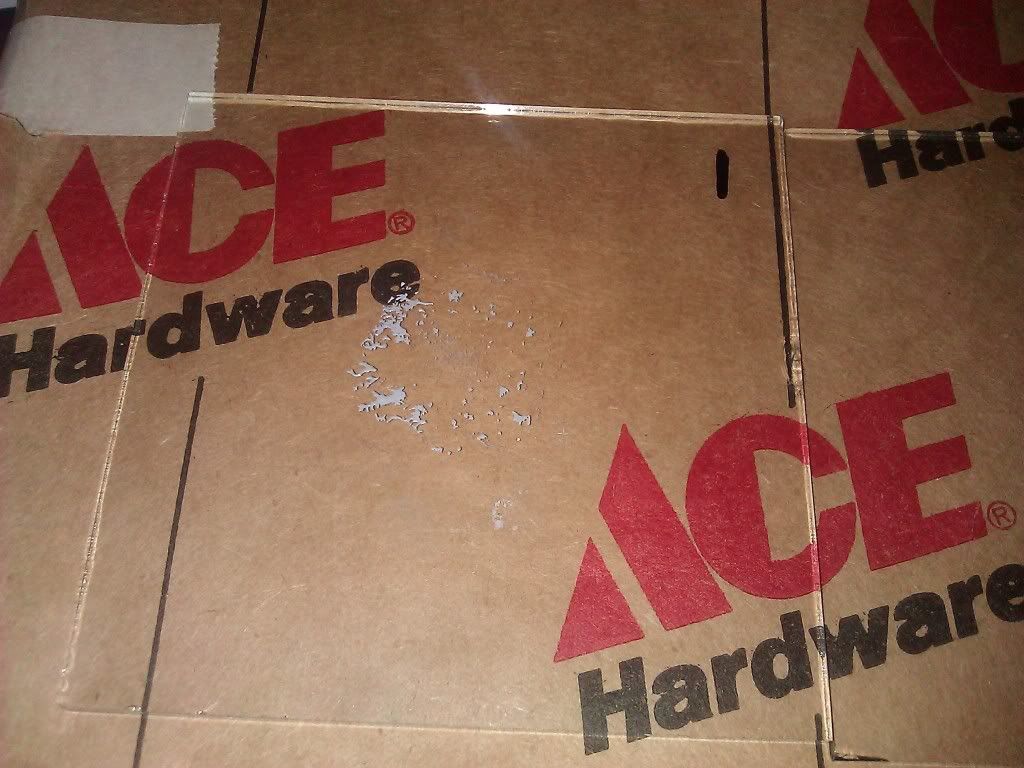
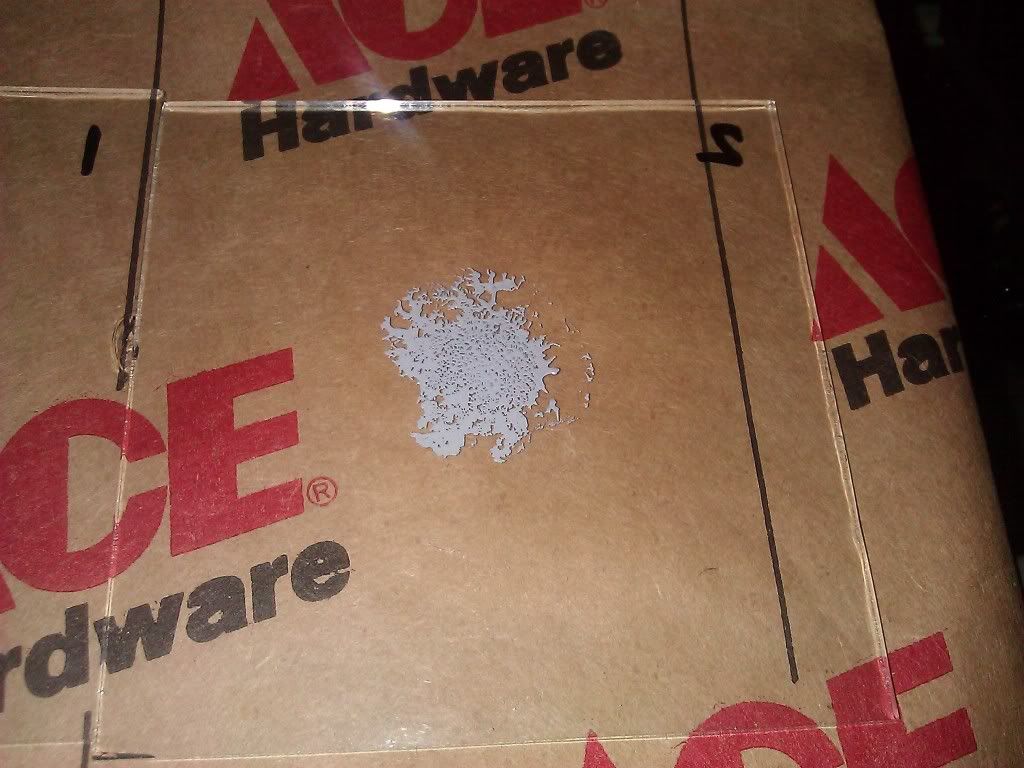 Well that answers the questions we had about thinning it with Alcohol. In other words NO. But in form: I would not reccommend this method to anyone for any reason. The TIM spreads unevenly and actually creates air bubbles within. To the point where you can see the holes in the TIM. In retrospect I wish I would have put some heat on this to see if the alcohol would evaporate and leave me with a good junction, but I doubt it since there were giant air bubbles in it. Even after the alcohol was gone, there would still be residue. Anyway No. Ok, for my final thoughts: For miror finish lapped equipment, I firmly believe that the sweet spot lies somewhere between Rice Grain and Pea Size. Those were the only ones where the layer of TIM felt thin enough to justify it as "Good" to "Great". For Flat lapped equipment but not mirrored I would highly suggest the Pea Sized method with tinting prior to application. If you dont know, Tinting is taking a small amount of TIM and rubbing it over the surfaces VERY THIN but completely. I tint with a coffee filter and 1/2 a grain of rice of TIM. I really hope everyone finds this as informative as I did doing it, and I would suggest this project to anyone because there is a DISTICT feel when the pieces have a nice thin layer of TIM. Now i doubt you'd be able to feel this with anything other than a WC Block in hand, but you can get a good feel for how much TIM belongs.
 And thanks for looking!
EDIT: Forgot to add detail pics of alcohol thinned after spread out