EVGA

EVGA NU Audio Op-amp Rolling Installation Guide

Author
EVGA_Lee
Moderator
  • Total Posts : 4247
  • Reward points : 0
  • Joined: 2016/11/04 14:43:35
  • Location: Brea, CA
  • Status: offline
  • Ribbons : 14
2020/02/17 15:13:27 (permalink)
For users looking to understand how to roll (or replace) op-amps, I decided to make this guide to cover the basics of rolling.  For the purpose of this guide, we will remove the Headphone Out op-amp on the NU Audio Card (712-P1-AN01-KR), and replace the stock OP275 op-amp with the LT1469 op-amp that is used on the NU Audio Pro card.
 
For a list of certified op-amps, click here.
    • Reminder - You will need to reinstall the default op-amps if you ever need to return the NU Audio Card for warranty reasons -
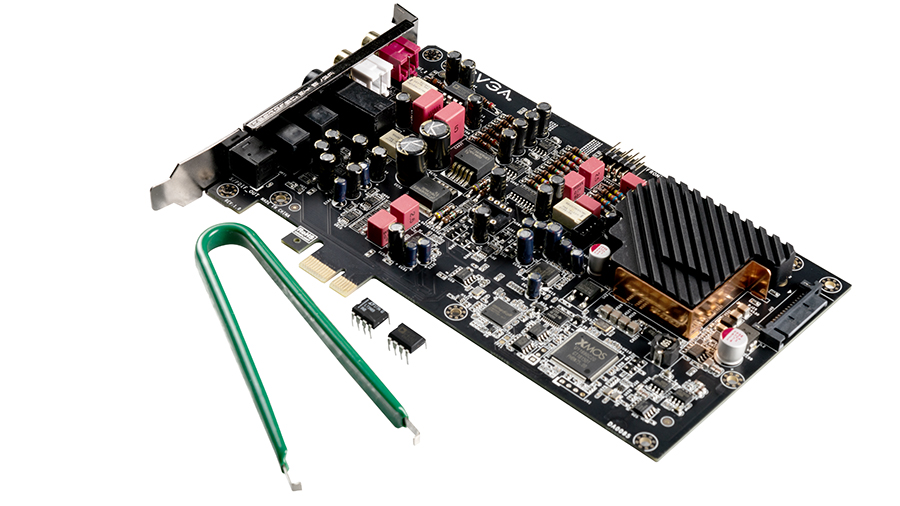
1.  Get a good (or at least basic) IC extractor tool.  You will need this to pull the op-amp out of the socket – preferably without damaging or scratching it.
    • Here’s the one used in the guide:  link
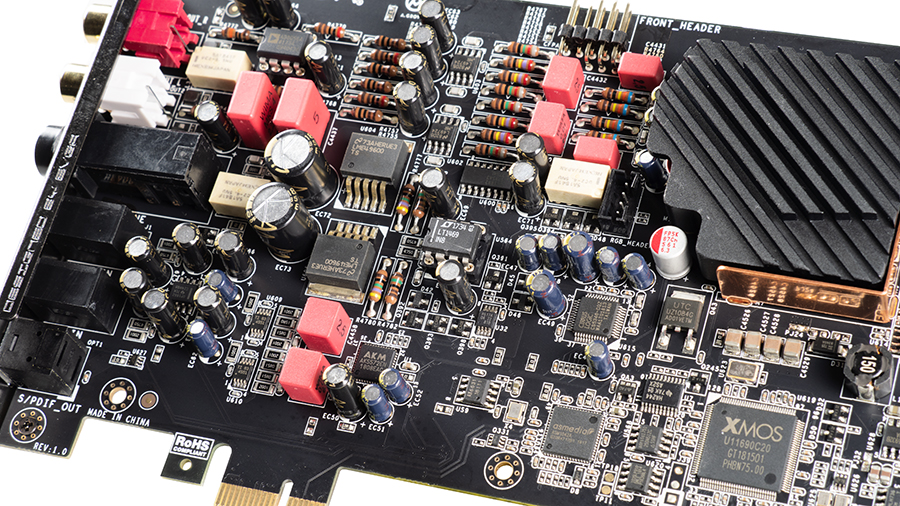
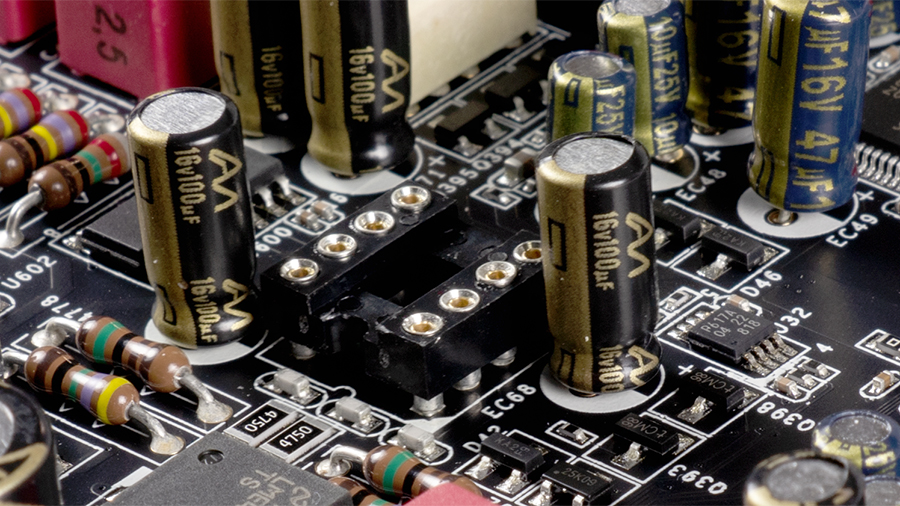
2.  Remove the cover to expose the PCB.

3.  Carefully place the extractor tool around the sides of the op-amp.  Depending on the op-amp you plan to roll, you might need to slightly bend some capacitors to get the tool around both sides (Yes, I’m looking at you Line Out socket…).
 

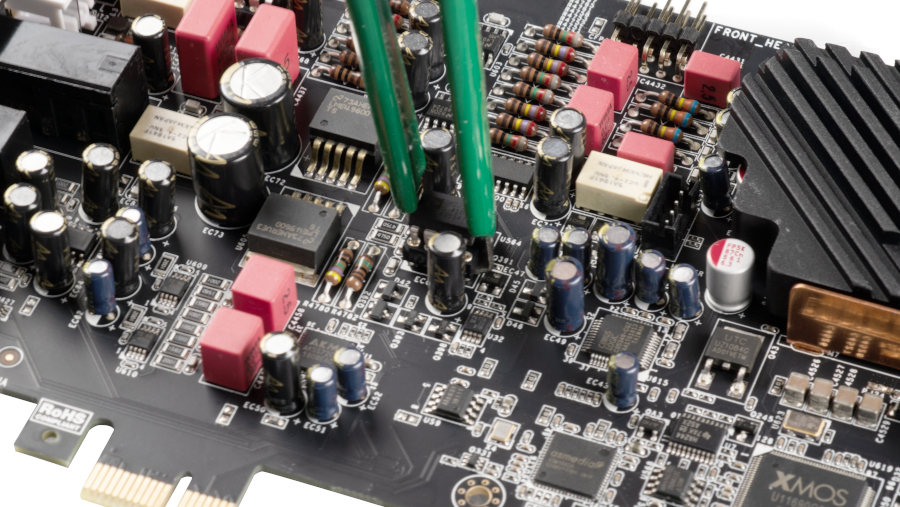
4.  Hold on to the extractor tool with a firm grip as you lift upwards.  Depending upon how tight the op-amp is nestled in the socket, you might need to slowly raise each side a little at a time to fully remove it from the socket.  Eventually, the op-amp will lift out of the socket and hopefully not fly off in a random direction.
 

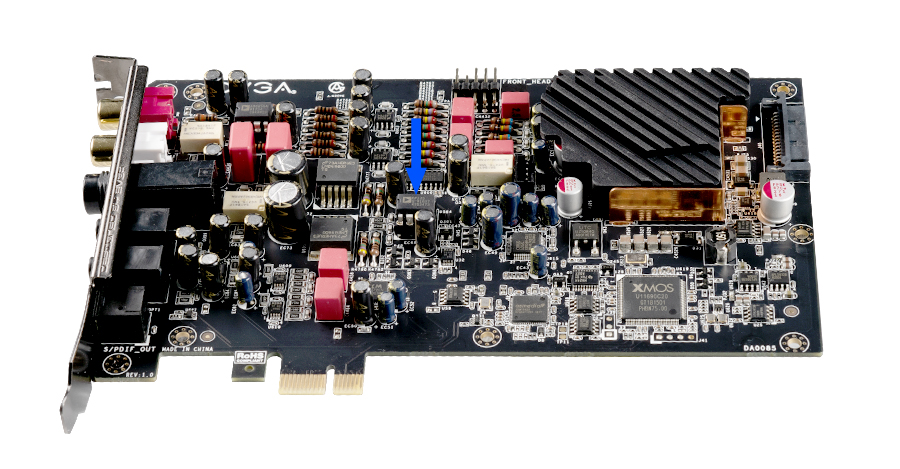
5.  Pick up your replacement op-amp and line it up to the op-amp socket.  In this case, we’re going to use the LT1469.  Note the notch on one side of the socket; this notch should match a similar looking cutout on the op-amp.


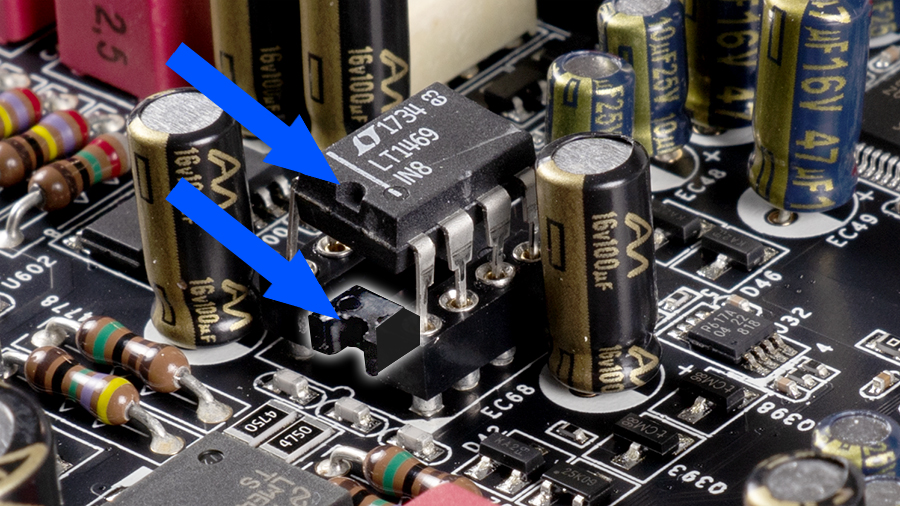
    • Failure to install the op-amp in the correct direction may damage your op-amp and/or your audio card.
6.  Once the pins are fully seated, press down to insert the op-amp.  If there is too much resistance when you press down, it might mean that one of the pins is out-of-line.  If that’s the case, try to first nudge any stray pins into the socket holes.  If that doesn’t work, try to remove the op-amp and gently move the pins around until they appear to be lined up.  There is tolerance for the pins to be moved back and forth, but you can break them if you’re not careful.
 

7.  When the op-amp is fully seated, the installation is complete.  Re-install the cover, and you’re good to go!
 

#1

4 Replies Related Threads

    kevinc313
    CLASSIFIED ULTRA Member
    • Total Posts : 5004
    • Reward points : 0
    • Joined: 2019/02/28 09:27:55
    • Status: offline
    • Ribbons : 22
    Re: EVGA NU Audio Op-amp Rolling Installation Guide 2020/02/17 16:59:34 (permalink)
    Socketed op-amps?  How boring! Lol.
    #2
    Coughtly
    New Member
    • Total Posts : 3
    • Reward points : 0
    • Joined: 2020/11/22 22:46:04
    • Status: offline
    • Ribbons : 0
    Re: EVGA NU Audio Op-amp Rolling Installation Guide 2020/11/22 22:49:45 (permalink)
    Good PCB is lead to get result in multiple purpose
    #3
    stebru94
    New Member
    • Total Posts : 100
    • Reward points : 0
    • Joined: 2021/09/29 13:37:08
    • Status: offline
    • Ribbons : 0
    Flagged as Spam (1)
    Re: EVGA NU Audio Op-amp Rolling Installation Guide 2021/09/29 15:52:59 (permalink)
    WOW! Thanks a lot man.
    #4
    BizSAR
    EGC Lead Admin / EVGA Forum Moderator
    • Total Posts : 1712
    • Reward points : 0
    • Joined: 2007/07/13 00:27:46
    • Location: Oregon, USA
    • Status: offline
    • Ribbons : 0
    Re: EVGA NU Audio Op-amp Rolling Installation Guide 2021/10/08 10:08:12 (permalink)
    So I was able to get the shroud off last night but I had to use quite a bit of force.
     
    So the issue is at first the backplate. The square of thermal material was stuck so well to the board that it took quite a bit of effort to get the backplate off. 
     
    Then, a few more screws needed to be removed that connect the board to the shroud and the shroud did come off, but again with a fair amount of effort because of the thermal material and the metal bracket that goes around the connectors. I thought for sure I was going to break the card. Be sure to remove the metal mounting bracket around the connectors completely. Save yourself my hassle. :) 
    post edited by BizSAR - 2021/10/12 09:47:24

    BizSAR
    EVGA 3090Ti FTW3 Ultra / ZOTAC 4070Ti Trinity OC - ASUS ROG PG279QM
    #5
    Jump to:
  • Back to Mobile