Updated 1/22/11 Heya guys. Sleepee here! I just got done re-TIMing my 3 460s that I have around. Since I wasn't able to locate a guide beforehand, I decided to just do this myself for future reference around these forums.
Before we start I'll be referring to my cards as such. Temperatures are at stock TIM at folding GPU3 work units.
GPU1: Top GTX 460 SC in an SLI configuration; 1.050 850/1700/2000; Runs hot! 81C when I pulled it out this morning, and up to 91C on Project 10632 WUs.
GPU2: Bottom GTX 460 SC in an SLI configuration; 1.050 850/1700/2000; 71C
GPU3: Lone GTX 460 Vanilla; 1.087 925/1850/2000; 71C
Things you will need: A non static area, your GTX 460(s), a #0 or #1 screwdriver, Arcticlean/Isopropyl Alcohol 91%+, VRM Heatsinks, your hands. (You don't need those Ritz!)
 Heatsink + Shroud Removal
 The quick guide for adding the VRM heatsink states that on the reference cards, you only need to remove the 4 screws surrounding the GPU core. It does not specify what to do for the EE cards. You'll need to remove all 8 screws on the back of the PCB.

The reason why I stated #0 or #1 screwdriver before is because you can likely get away with using a #1 on these screws. I was able to use my #1 to take out all screws. I'm happy to report that on all 3 of my 460s, every screw came out very easily. We'll have none of those horror stories about stripping screws and having to break out a drill. However, if you do end up starting to strip with a #1, stop immediately, and go find a #0 to use. You won't need to disconnect the fan, as it doesn't get in the way.
Following screws removal, put one hand on the bottom on the shroud, and put another on top on the PCB. Turn your hands in opposite directions and pull gently, and they'll come apart.
Yuck! Look at that nasty stock TIM!
GPU2:


GPU3:
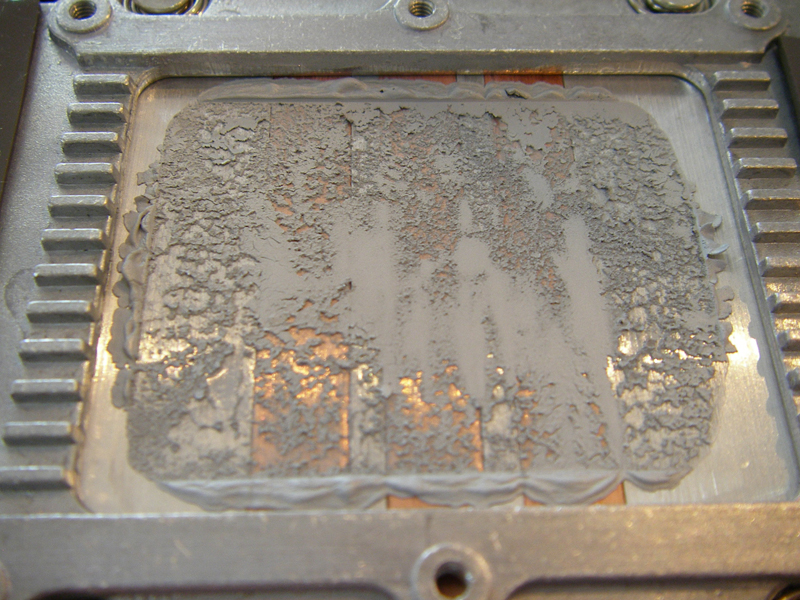
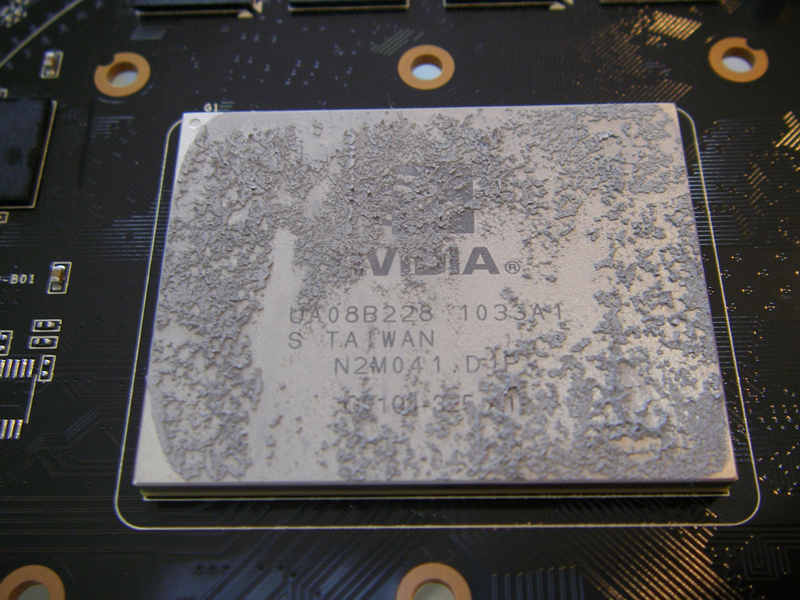
This one IMO, looked the best and had the most even coverage.
GPU1:
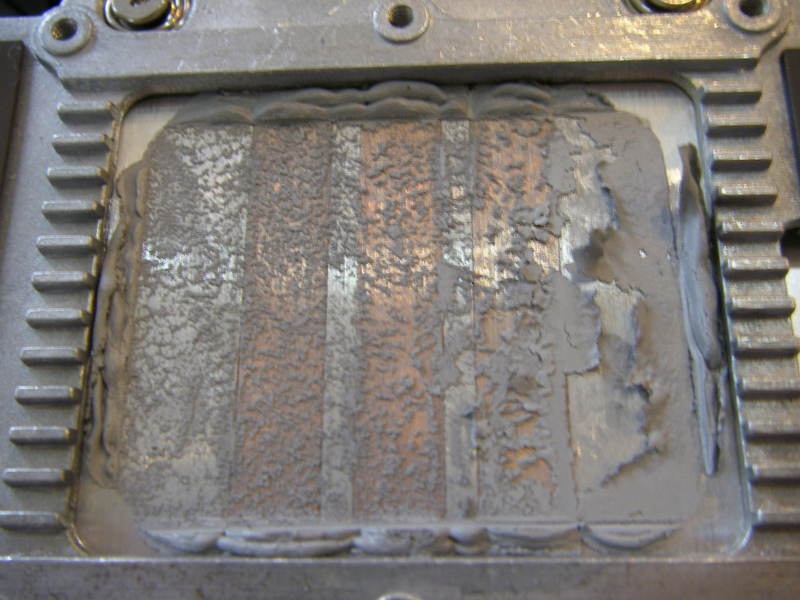
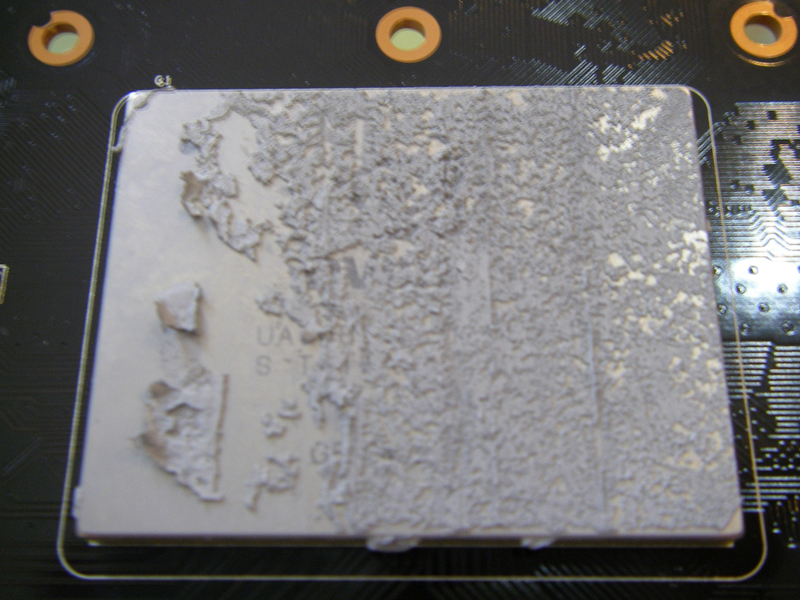

Take your favorite TIM remover, be it Arcticlean or Isopropyl Alcohol, and go nuts. I also cleaned up the memory chips that are under thermal tape on each card. They looked kind of oily when I pulled the fans off.

When you're done cleaning, you should have something that looks like the following.
GPU2:


GPU3:


GPU1:
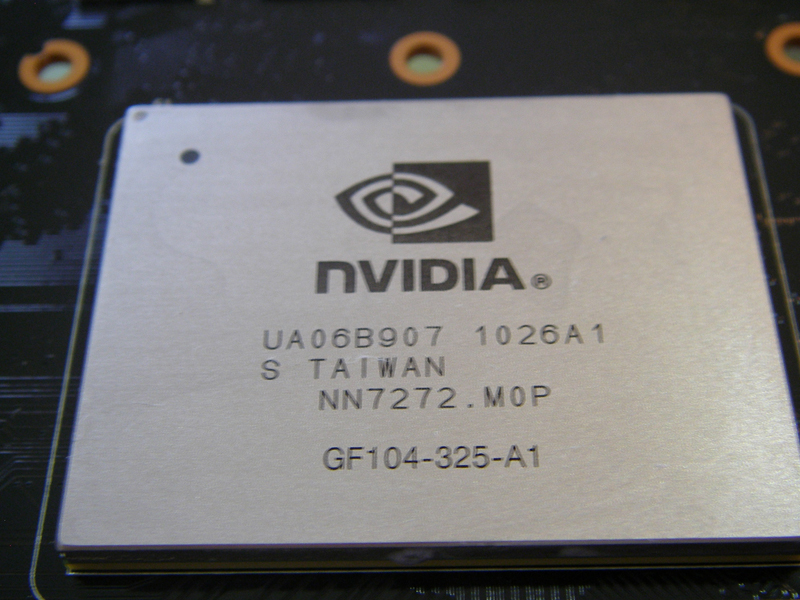

Nice!
 VRM Heatsinks
 If you aren't putting these on, feel free to skip ahead.
For the VRM Heatsinks, follow the instructions that came with your envelope. Or, go to:
http://www.evga.com/products/pdf/M020-00-000205.pdf Remember that the lower fins should point down towards the PCI-E connector. It should look like this.
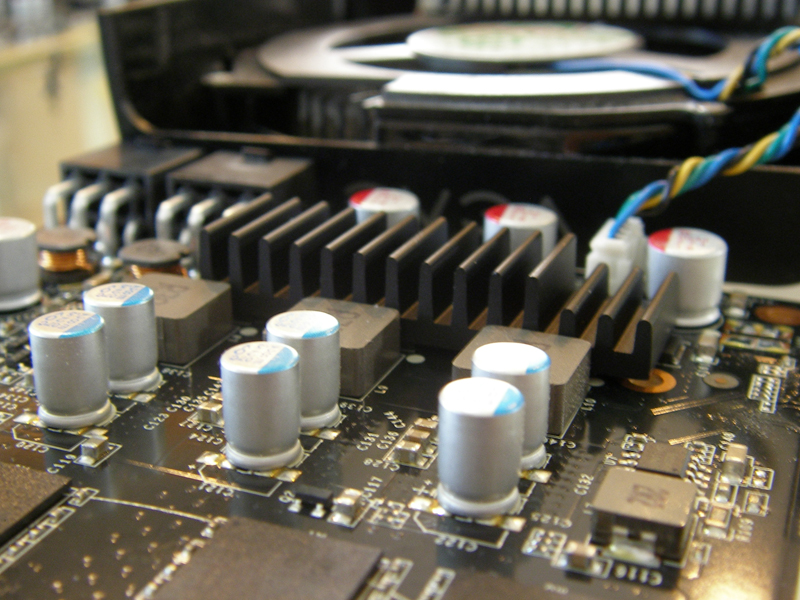
Note that it will not cover all of the chips completely. There was about a millimeter on the top and bottom ones not covered by the heatsink.

 High Flow Brackets
 To remove your stock bracket, you will need to have the heatsink/shroud combo off (sorry for those who have already changed their thermal paste; you'll have to do it again).
Looking at the PCB, head over to the top left and take off the single screw securing the bracket to the PCB.

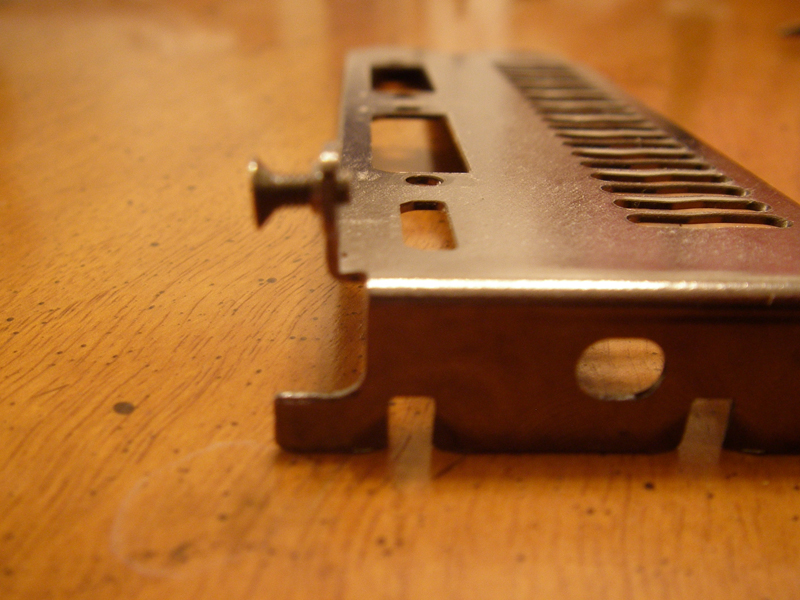
Now come down over the side and spot the four hexagonal screws holding the bracket to the DVI out ports. If you're super special awesome and happen to have a screwdriver that can take these off, feel free to do so! Otherwise, using a pair of long-nose pliers, grab the heads and turn to loosen them up, and then unscrew them by hand. There are four in total to remove. In this picture, I've already removed one.

Take your high flow bracket out, and place it back where the stock one was. Screw in the hexagonal screws again. I put them in again by hand, because four screws will definitely hold that bracket in place.
But what about the first screw that we took off in this section? The one holding the bracket to the PCB? You say.
Well, the HF brackets were technically designed for the GTX 470/480, which use bigger screws. The one that comes with the GTX 460 is simply too small to even thread that hole on the high flow bracket. But don't worry about it. The DVI screws will hold the bracket securely in place.
Now that your HF bracket is successfully in place, take your stock bracket, and thread the screw to it so that you don't lose it. Keep both the bracket and screw in your GTX 460's box, because if you ever need to RMA, you'll need to have the stock bracket on.
 TIM Reapplication
 Now for the TIM application. I used IC Diamond. As per their instructions, I used a single blob that would be spread by the pressure from the heatsink pushing down on it. Try to get your blob to be the size and width of the Nvidia logo. It's a good reference for the size that you need.


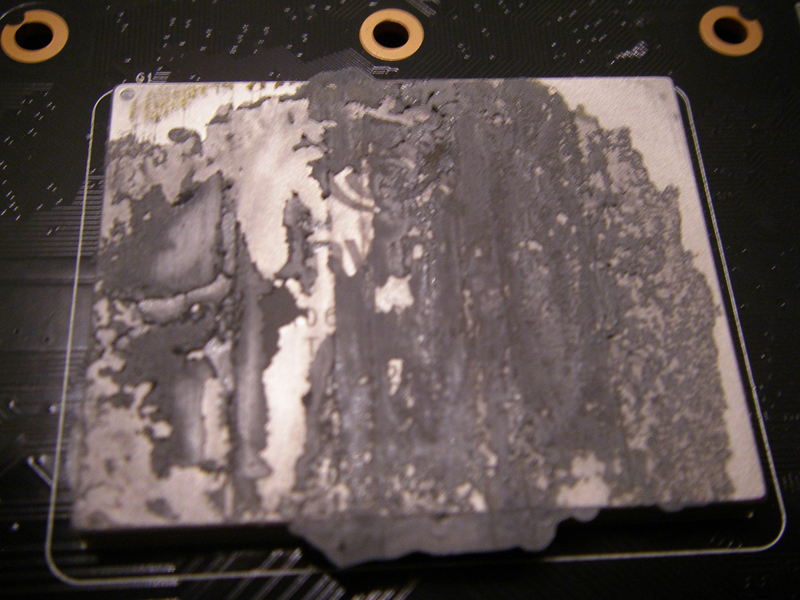
3 months later, this is what the spread looks like on two of the cards with that much IC Diamond. To avoid the paste running off like that on the top and bottom, try to get your blob to be more wide than tall. But if it ends up coming off of the edges, don't worry about; because the PCB always points down towards the bottom of your case, there is no way that any thermal paste will get onto the PCB's circuit traces.

Finally, take your PCB, and mount that to the fan shroud/heatsink. It is much easier this way, as you can see where the screws are supposed to line up and you're not just guesstimating where they would be. Thread the 4 diagonal screws in first, and then tighten in an X formation like so.
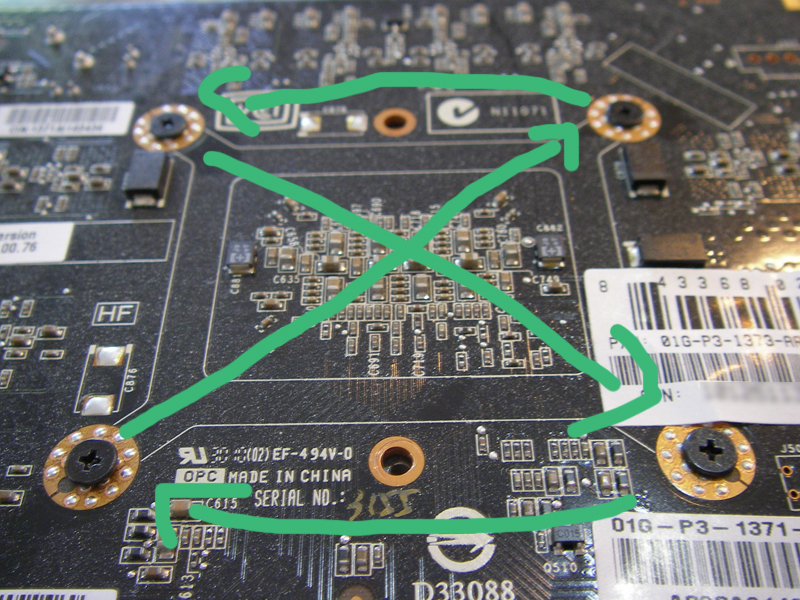
When those are tightened down, screw in the last four to their original places. Then put your card back into your system and you're good to go!
IC Diamond Results Roughly 3C drops on each card in my SLI configuration. The lone 460 had no temperature change.
High Flow Bracket Results Another 3C drop on each card in my SLI configuration with the high flow brackets installed. That's right off the bat readings, it may go down as the IC Diamond spreads and burns in.
Will the VRM heatsink improve my overclock? Probably not. I couldn't crank my third 460 from 925 core to 950 core, both with and without the VRM heatsink. It failed the work unit it was working on within seconds of starting it. For my two in SLI, even at 1.087V, I couldn't push them both to 900 mhz. The bottom card kept failing work units.
Any questions, I will answer to the best of my ability, or another forumite will hopefully help me out.
Cheers!
post edited by Sleepee - Sunday, January 23, 2011 2:06 AM