Hello Folks,
Thought to document this little tidbit of information on how to Install the SR-2 using all 12 of the Standoff locations that this motherboard comes with and a 13th location I ran across. This will give your SR-2 THE most stable mounting of the board is capable of to support alot of weight such as heavy video cards and/or heavy CPU heatsinks.
I know I know some would say it can only use 11 but this is where this guide comes into play.
The only tools you will use for this installation will be a little screwdriver to remove the Chipset Shroud, a Big screwdriver for the standoff mounting screws itself and a nutdriver to screw in the standoff itself.
Lets get started
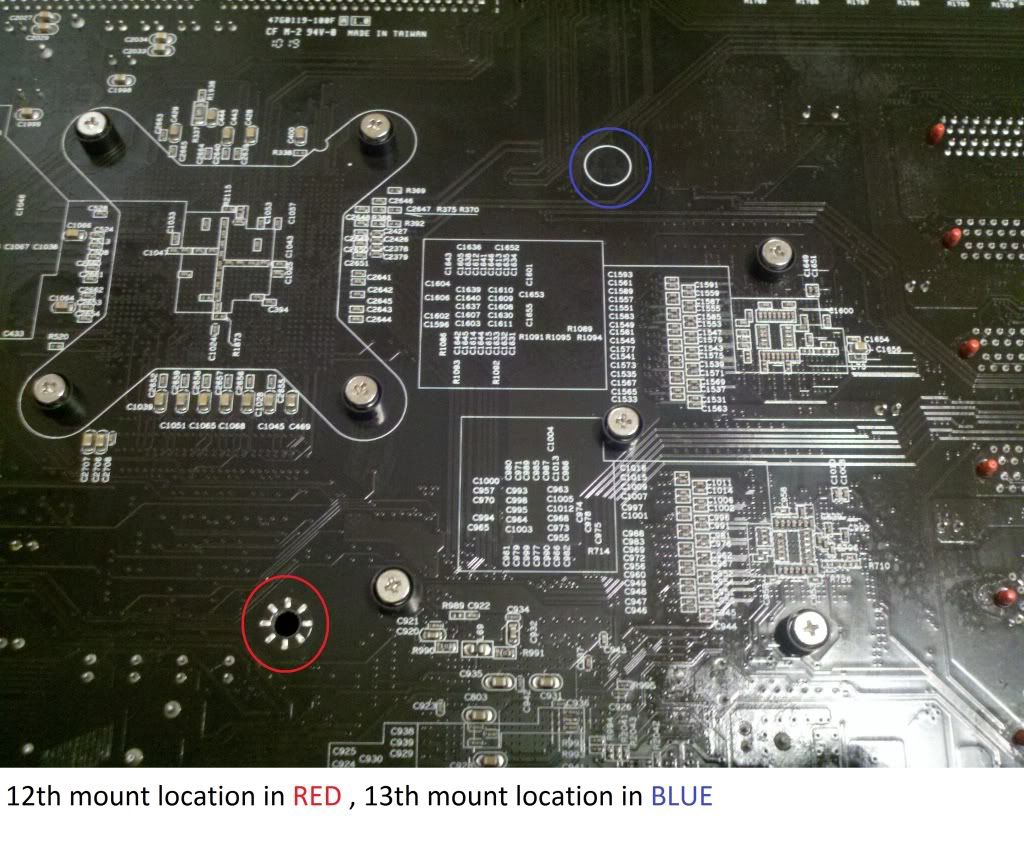
First off - lets get the Info for the 13th standoff out of the way
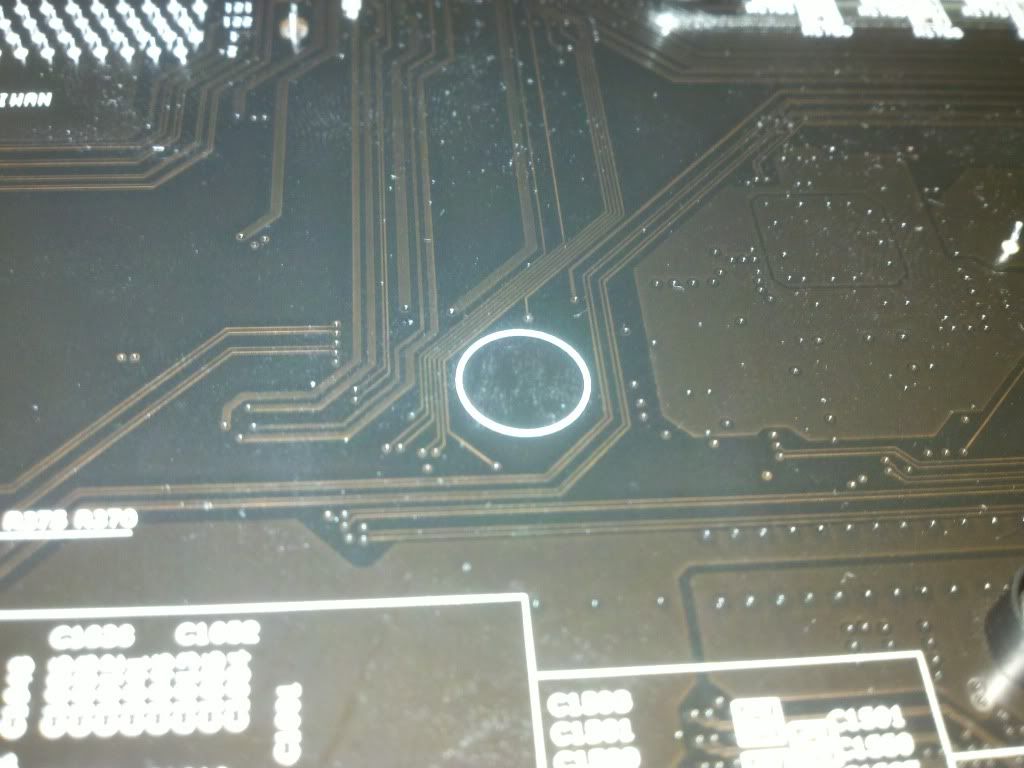
The 13th location is NOT for a standard Metal Standoff ... I would highly recommend either a Plastic or Nylon standoff as to not effect the board and the traces it has near it ... remember ... this is a SUPPORT ONLY as the board will not be physically attaching to this location.
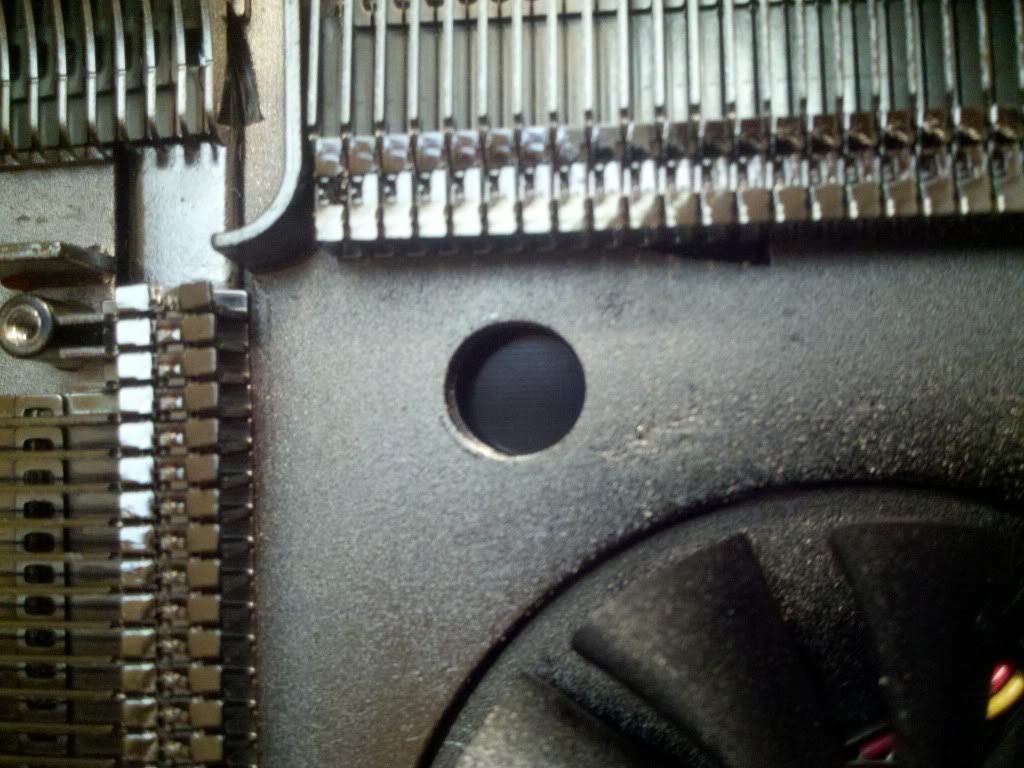
This 13th support WILL however provide extra support in a horizontal mode to help with heavy Video cards near the upper slots and help aleviate flexing of the board while using heavy CPU Air Coolers and can provide extra support in a vertical fashion to help the motherboard from flexing in near the middle with the heavy Air Coolers pushing down thanks to gravity.
now on to the pictures of the 13th location to illustrate what i'm refering to.
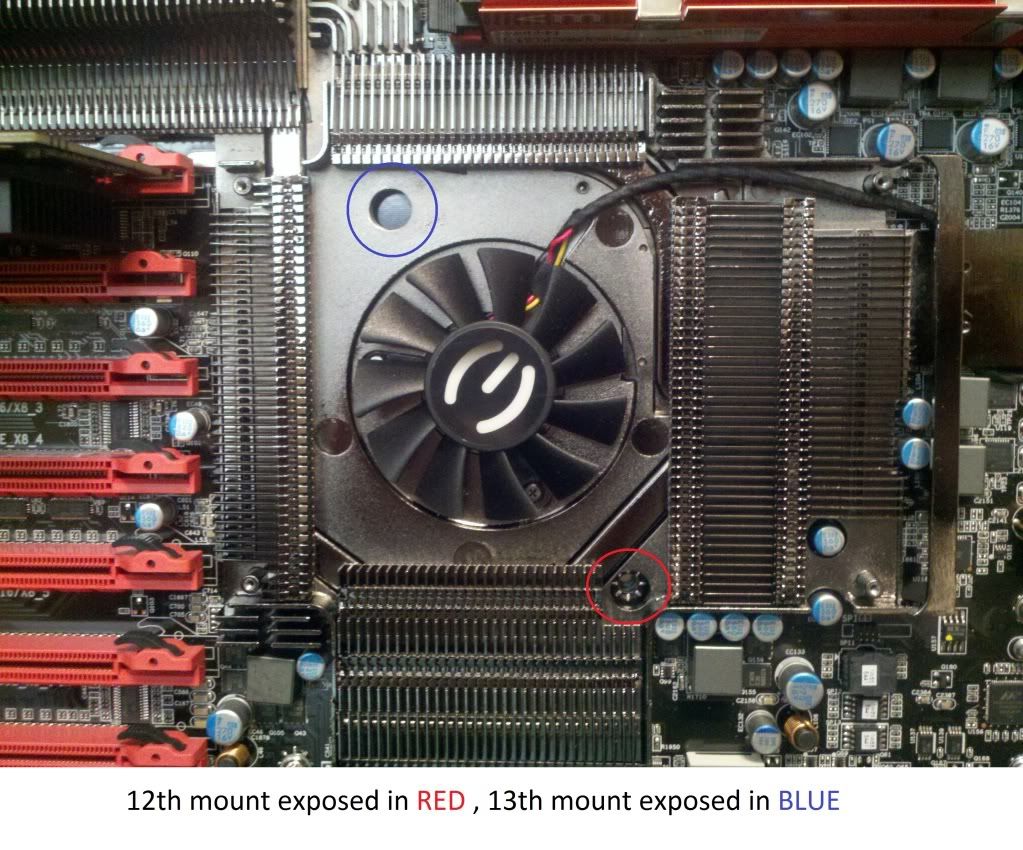
12th and 13th locations
note the traces near this location
locations with the chipset shroud removed
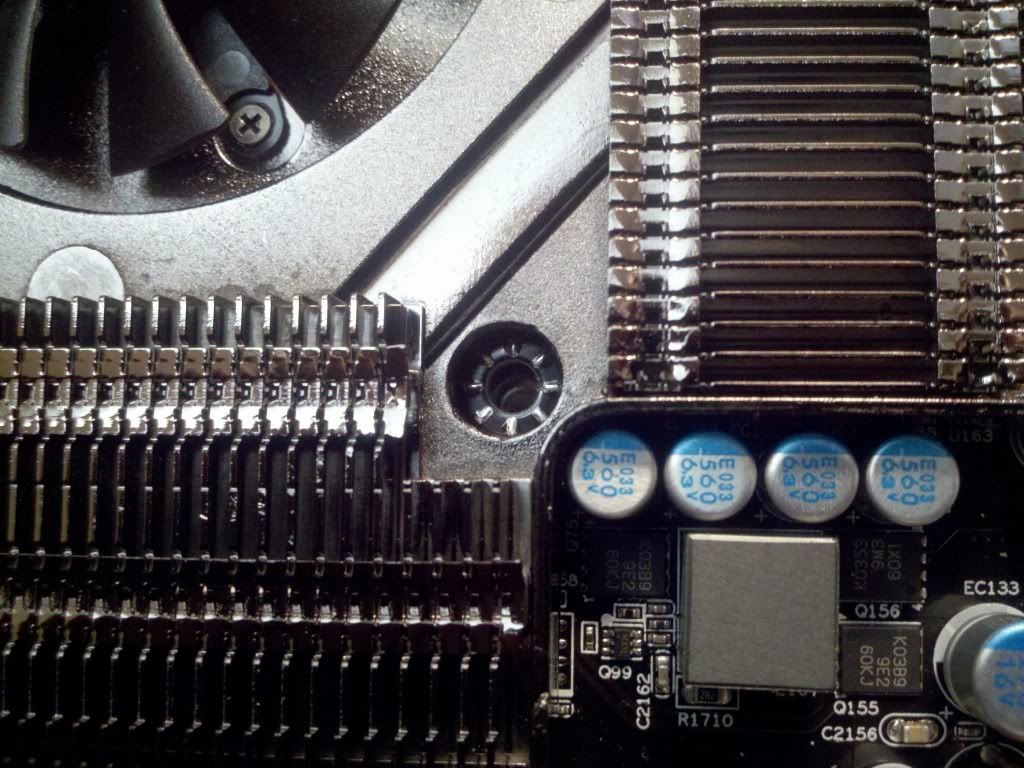
note how the chipset heatsink was already designed for this mounting application ... wish they had gone ahead and made it a real standoff location due to the ammount of weight this board can be able to hold
now for how to mount the motherboard using the 12 standoffs
MM HPTX Tray with Locations noted - Use metal screw in standoffs for
RED and
GREEN, if you are planning on using the 13th location noted in BLUEthis is where you would use the Plastic/Nylon standoff at this time to save a ton of headaches and time to add it later. 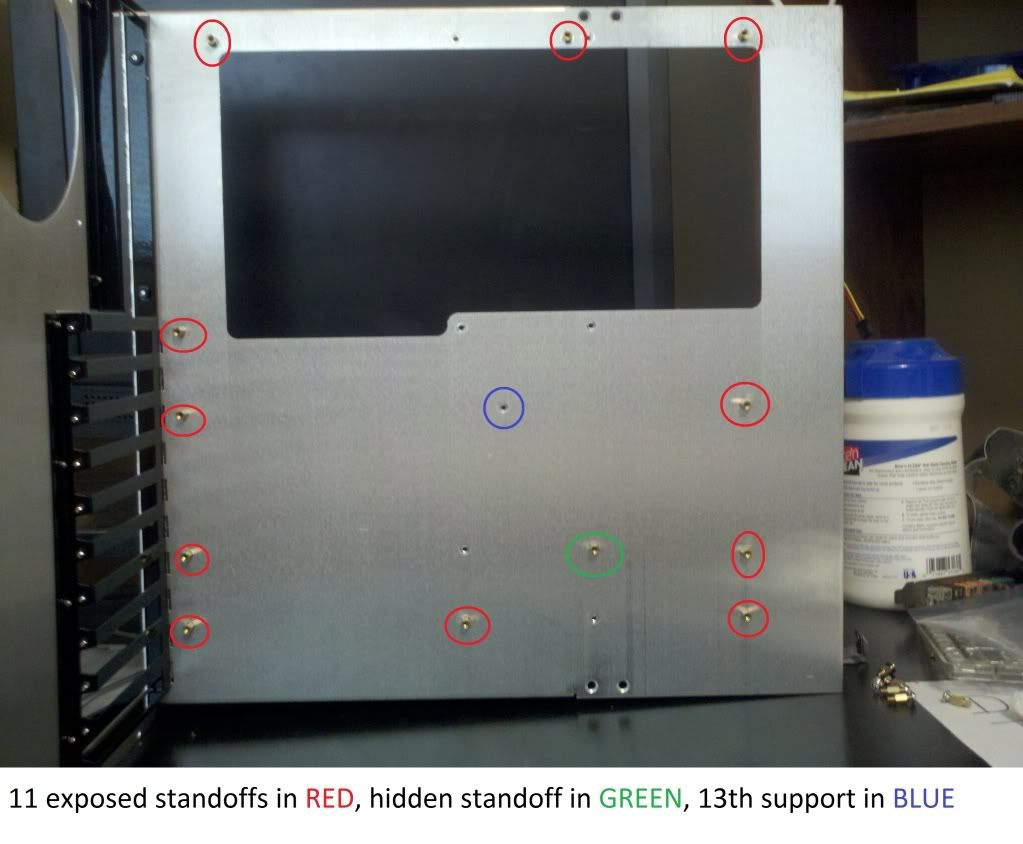 Once all standoffs/supports are in place mount the mootherboard as usual ... keep in mind to only run the screws in that attach to the standoffs a few threads to where they grab but the board is still loose for alignment ... do not tighten anything down at this time. next ... remove the following screws off the chipset heatsink fan assembly
 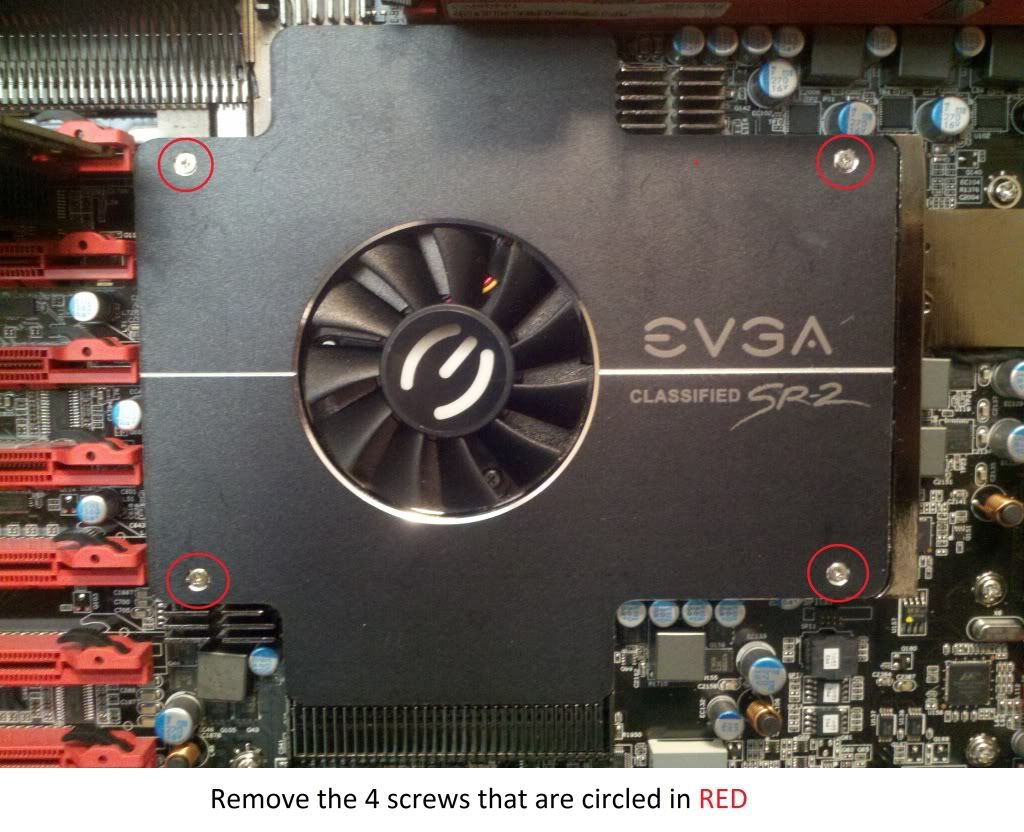 Mounting Hole Exposed
  Screw Installed
 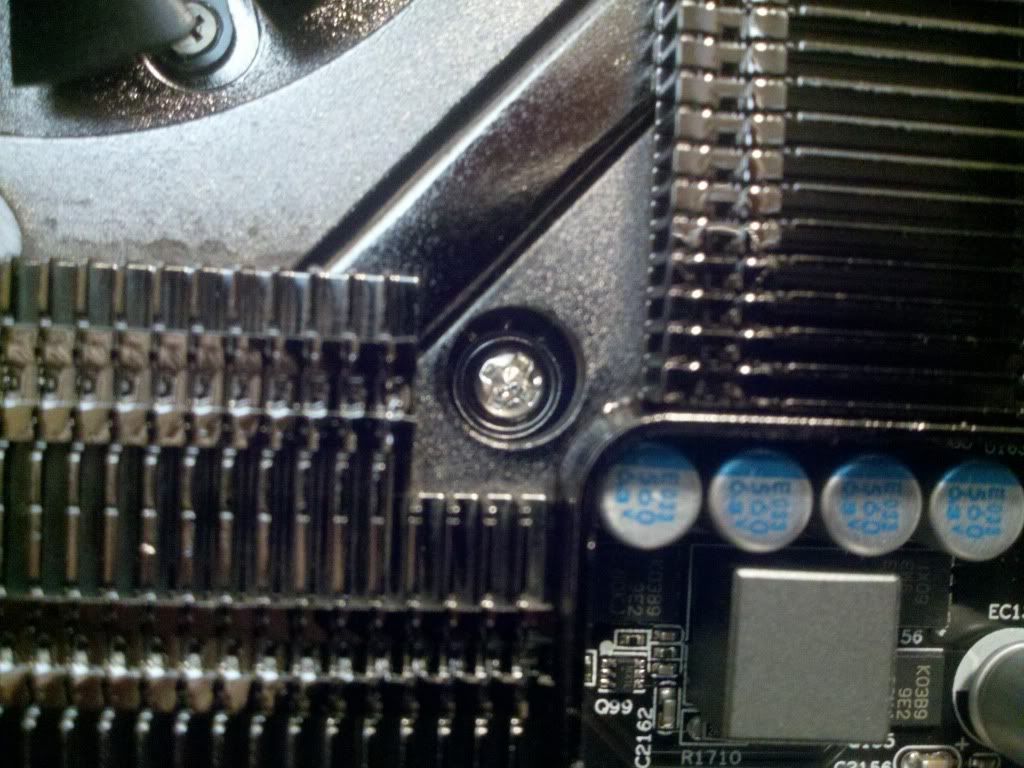 NOTE - the 12th standoff mounting location will most likely require a magnetic tipped screwdriver for removal as the hole is a good distance away and is much lower than the heatsink assembly do not reinstall the chipset shroud at this time Once all 12 screws have been started tighten them down per the manufactures instructions ... once all screws have been tightened properly including the 12th one you can now reattach and screw down the chipset heatsink cover shroud.
 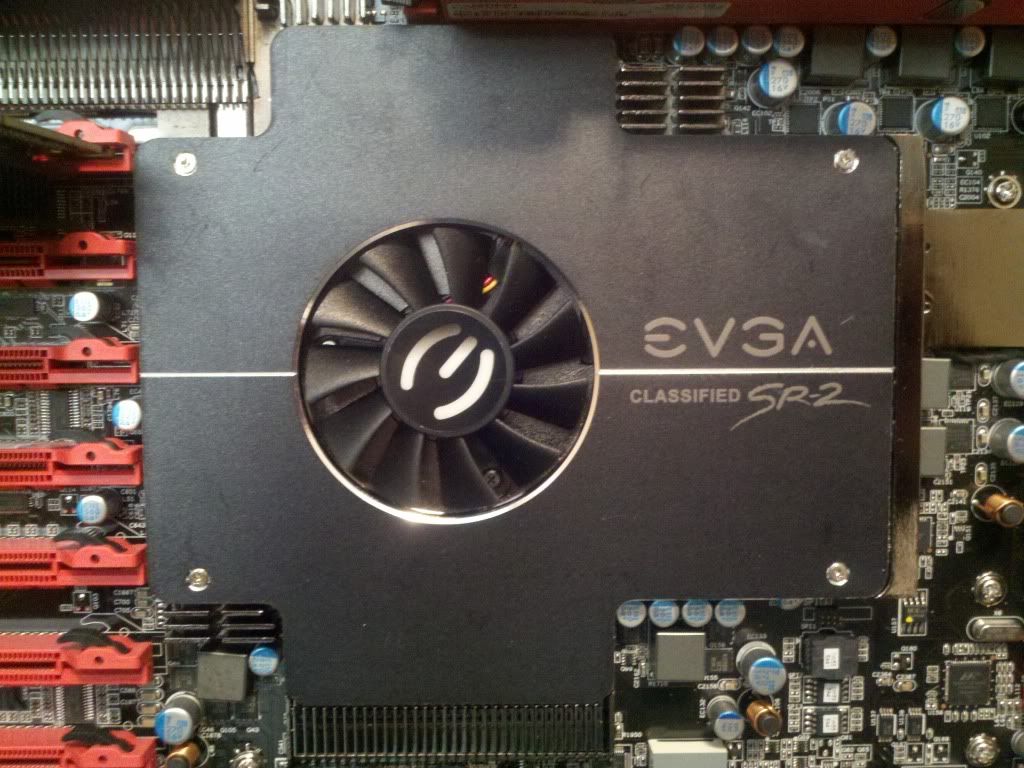 we have maintained the stock look of the SR-2 while providing even greater support for all the equipment you want this board to hold. Just remember ... if you need to remove the motherboard for any purpose DO NOT FORGET ABOUT THE HIDDEN SCREW ... I hope this guide helps alot of folks out there learn more about their motherboard as it has taught me
post edited by DraginElite - Friday, July 15, 2011 6:10 AM